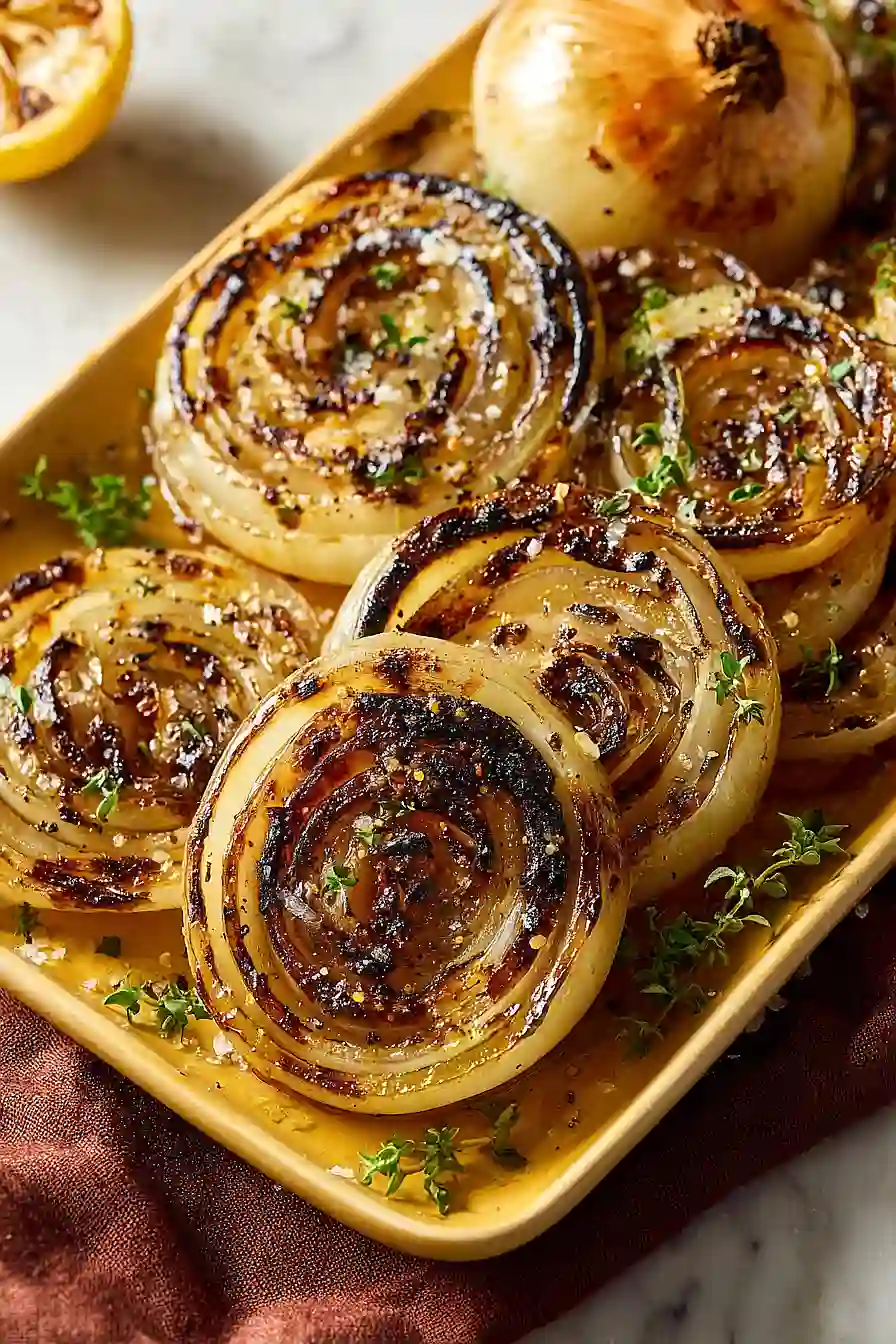
Here are my grilled onions, with thick-cut sweet onion rounds, a simple seasoning of olive oil, salt, pepper, and thyme, and a drizzle of balsamic glaze to finish them off.
These grilled onions are a total game-changer for summer cookouts. I make them every time we fire up the grill because they’re so easy and pair well with just about everything. Plus, the kids actually eat their vegetables when they’re sweet and caramelized like this!
Why You’ll Love These Grilled Onions
- Only 4 ingredients – You probably already have everything you need in your kitchen – just onions, olive oil, salt, and pepper.
- Quick and easy – These grilled onions are ready in under an hour with minimal prep work, making them perfect for busy weeknights or last-minute cookouts.
- Perfect side dish – They pair beautifully with grilled meats, burgers, or hot dogs, and add a sweet, smoky flavor to any meal.
- Naturally sweet and caramelized – The heat from the grill brings out the natural sweetness in the onions, creating those delicious caramelized edges everyone loves.
What Kind of Onions Should I Use?
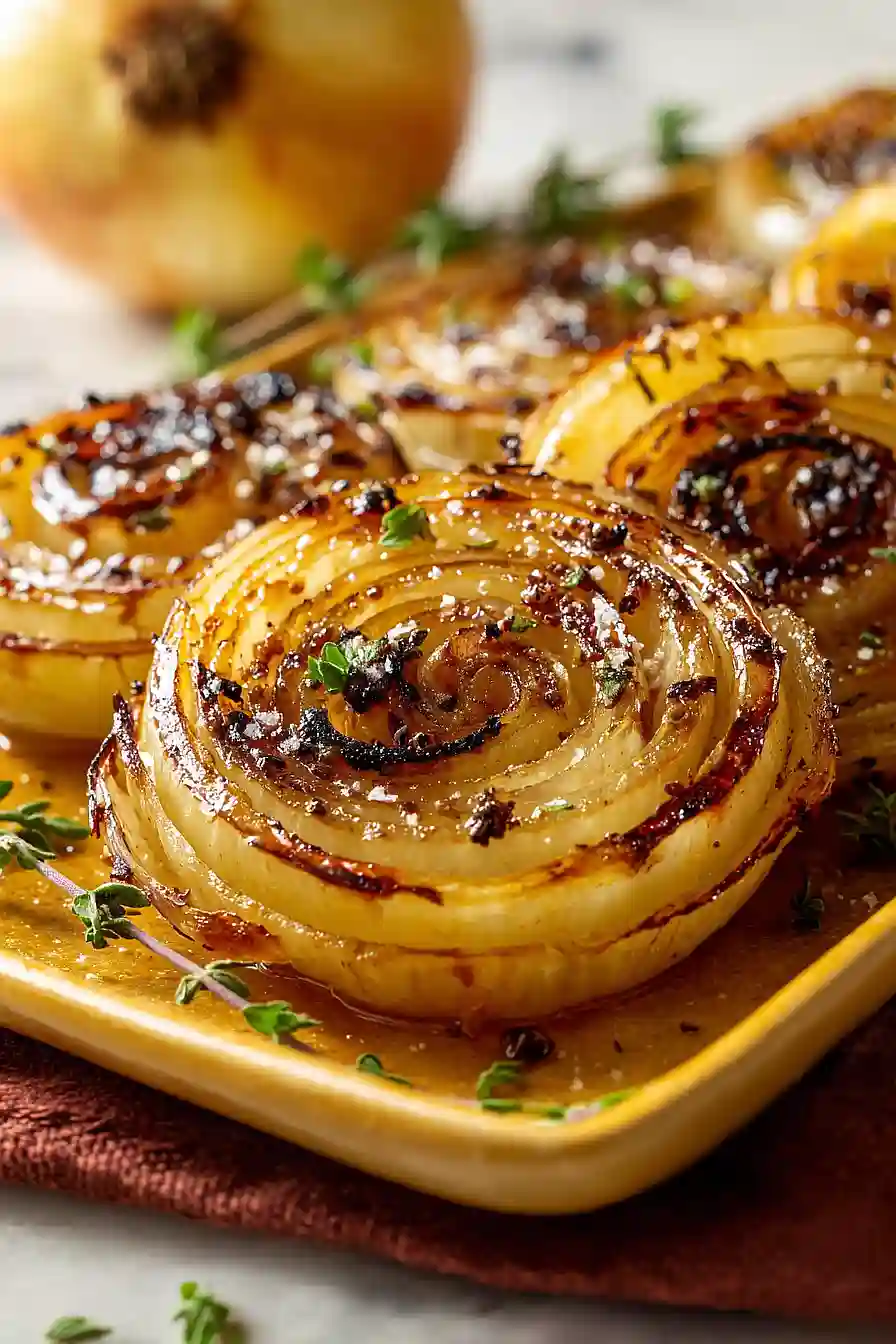
Sweet onions like Walla Walla or Vidalia are perfect for grilling because they have a naturally mild, almost sugary flavor that gets even better when cooked. These varieties have less of that sharp, tear-inducing bite you get from regular yellow onions, which makes them ideal for grilling since the heat brings out their natural sweetness. If you can’t find Walla Walla or Vidalia at your store, look for Maui or Texas Sweet onions as they’ll work just as well. In a pinch, regular yellow onions will still taste great on the grill, they’ll just have a bit more of that classic onion sharpness to them.
Options for Substitutions
This simple recipe is pretty straightforward, but here are a few swaps you can make:
- Sweet onions: If you can’t find Walla Walla or Vidalia onions, try Maui, Texas Sweet, or even regular yellow onions. Keep in mind that regular yellow onions will be a bit sharper and less sweet, but they’ll still taste great grilled.
- Olive oil: Any neutral cooking oil works here – try avocado oil, vegetable oil, or even melted butter for a richer flavor. Just make sure whatever you use can handle high heat.
- Kosher salt: Regular table salt is fine, but use about half the amount since it’s more concentrated than kosher salt.
- Fresh ground pepper: Pre-ground pepper from a shaker works too, though freshly ground gives you better flavor. You could also try smoked paprika or garlic powder for a different twist.
Watch Out for These Mistakes While Grilling
The biggest mistake when grilling onions is placing them directly over high heat, which will char the outside before the inside has a chance to soften and caramelize – that’s why the two-zone setup with indirect heat is so important for getting tender, sweet onions all the way through.
Skipping the skewer step might seem tempting, but without it, your onion slices will fall apart into rings on the grill, making them nearly impossible to flip and manage.
Another common error is cutting the slices too thin (less than 3/4 inch), which causes them to dry out and burn before they’re fully cooked, so stick to that thickness and be patient with the longer cooking time.
Finally, don’t forget to brush both sides with oil before grilling – dry onions will stick to the grates and tear when you try to flip them.
What to Serve With Grilled Onions?
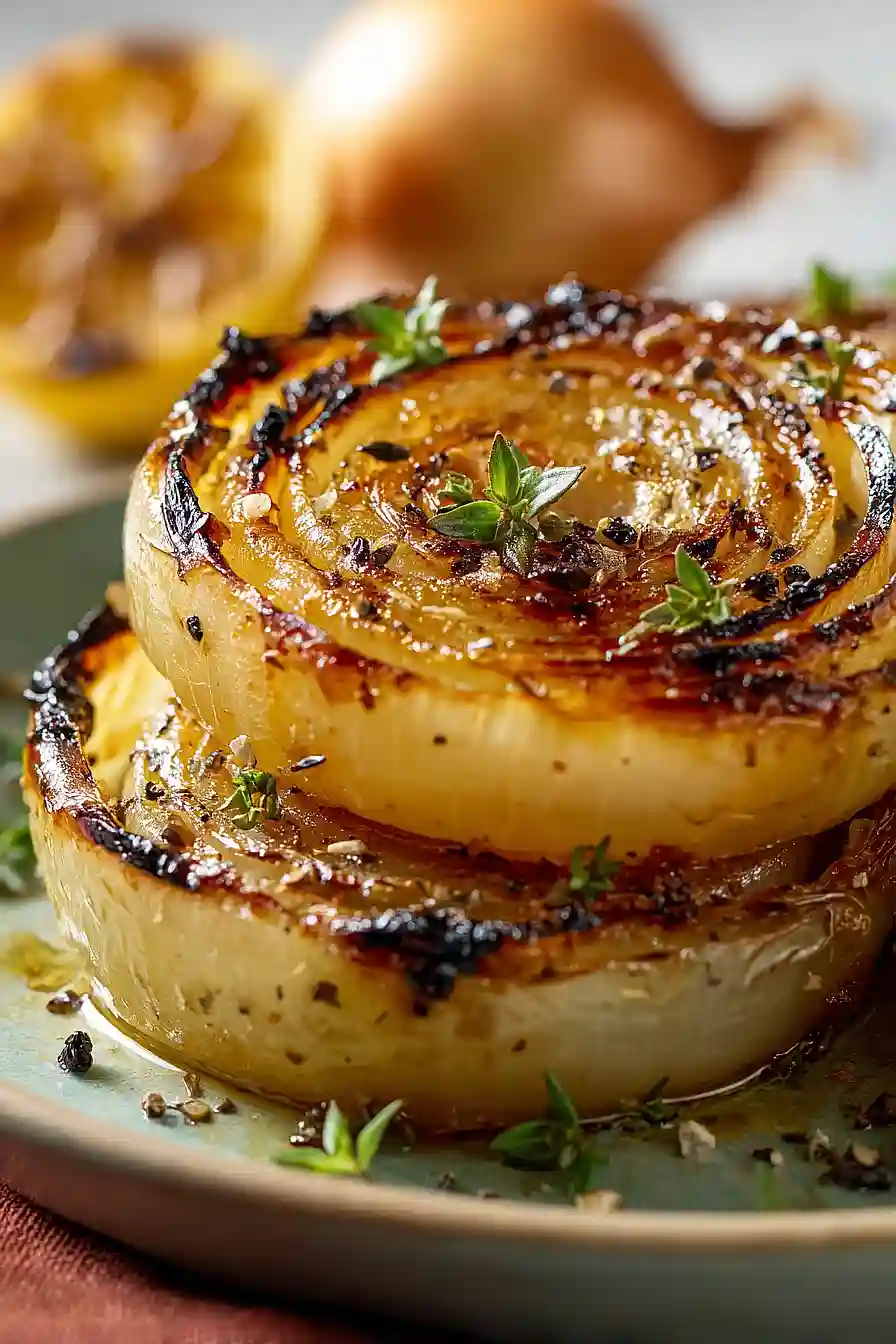
Grilled onions are one of those side dishes that work with just about any protein you’re throwing on the grill. They’re perfect alongside burgers and hot dogs at a backyard cookout, where you can pile them right on top or serve them on the side. I love pairing them with grilled steak, chicken breasts, or pork chops since the sweet, caramelized flavor complements the smoky char from the grill. They also make a great topping for sandwiches or can be tossed with pasta and some parmesan for a quick weeknight dinner.
Storage Instructions
Store: Keep your grilled onions in an airtight container in the fridge for up to 4 days. They’re great to have on hand for topping burgers, sandwiches, or tossing into salads throughout the week.
Freeze: You can freeze grilled onions in a freezer-safe container or bag for up to 3 months. They work best when added to cooked dishes like soups or casseroles after thawing, since they’ll lose some of their texture.
Reheat: Warm them up in a skillet over medium heat for a few minutes, or microwave them for about 30 seconds. They’re also tasty served cold on sandwiches or wraps if you’re in a hurry.
| Preparation Time | 10-15 minutes |
| Cooking Time | 25-40 minutes |
| Total Time | 35-55 minutes |
| Level of Difficulty | Easy |
| Servings | 4 portions |
Estimated Nutrition
Estimated nutrition for the whole recipe (without optional ingredients):
- Calories: 180-220
- Protein: 2-3 g
- Fat: 14-16 g
- Carbohydrates: 18-24 g
Ingredients
- 2 large sweet onions (sliced into 3/4-inch rounds to match skewer preparation)
- 2 tablespoons extra virgin olive oil
- 1/2 teaspoon kosher salt
- 1/4 teaspoon freshly ground black pepper
- 1/2 teaspoon dried thyme
- 1 tablespoon balsamic glaze for drizzling
Step 1: Prepare and Skewer the Onions
- 2 large sweet onions
Slice each large sweet onion into 3/4-inch thick rounds.
To keep the rounds intact during grilling, push a metal skewer through the center of each round, positioning it about 3/4 inch from the root end.
This skewer will hold the onion layers together as they cook and make flipping easier.
Once all rounds are skewered, trim any excess skewer length that extends beyond the onion so it doesn’t interfere with grilling.
Step 2: Season the Onion Slices
- 2 tablespoons extra virgin olive oil
- 1/2 teaspoon kosher salt
- 1/4 teaspoon freshly ground black pepper
- 1/2 teaspoon dried thyme
Brush both sides of each skewered onion round generously with extra virgin olive oil, making sure the oil coats all exposed surfaces—this helps them develop a nice caramelized crust.
Sprinkle both sides evenly with kosher salt and freshly ground black pepper, then finish with the dried thyme.
I like to season the onions right before grilling rather than ahead of time, as the salt can draw out moisture and make them soggy if left sitting too long.
Step 3: Set Up and Preheat the Grill
Prepare your grill for two-zone cooking by heating one side to medium-high heat and leaving the other side cooler or with no direct flame.
This two-zone setup lets you start the onions on the cool side to cook gently without burning, then move them to higher heat if needed for final caramelization.
Let the grill preheat for 5-10 minutes until it reaches temperature and the grates are hot enough that water droplets sizzle immediately.
Step 4: Grill the Onions Until Tender
- skewered and seasoned onions from Step 2
Place the seasoned onion skewers on the cool side of the grill to cook slowly and develop sweetness without charring too quickly.
Cook for 25-40 minutes total, flipping every 10-15 minutes to ensure even cooking and caramelization on both sides.
The onions are done when they’re completely tender and pull apart easily with a fork, with the edges and flat surfaces nicely caramelized and slightly charred.
I find that smaller onions cook faster while larger ones may need closer to 40 minutes, so check for tenderness rather than relying solely on time.
Step 5: Finish with Balsamic Glaze
- 1 tablespoon balsamic glaze
- grilled onions from Step 4
Transfer the grilled onions to a serving plate or board and drizzle with balsamic glaze while they’re still warm.
The warmth helps the glaze coat the onions evenly and brings out the sweet and slightly tart flavors that complement the caramelized sweetness of the grilled onions perfectly.
Tasty Grilled Onions
Ingredients
Method
- Slice each large sweet onion into 3/4-inch thick rounds. To keep the rounds intact during grilling, push a metal skewer through the center of each round, positioning it about 3/4 inch from the root end. This skewer will hold the onion layers together as they cook and make flipping easier. Once all rounds are skewered, trim any excess skewer length that extends beyond the onion so it doesn't interfere with grilling.
- Brush both sides of each skewered onion round generously with extra virgin olive oil, making sure the oil coats all exposed surfaces—this helps them develop a nice caramelized crust. Sprinkle both sides evenly with kosher salt and freshly ground black pepper, then finish with the dried thyme. I like to season the onions right before grilling rather than ahead of time, as the salt can draw out moisture and make them soggy if left sitting too long.
- Prepare your grill for two-zone cooking by heating one side to medium-high heat and leaving the other side cooler or with no direct flame. This two-zone setup lets you start the onions on the cool side to cook gently without burning, then move them to higher heat if needed for final caramelization. Let the grill preheat for 5-10 minutes until it reaches temperature and the grates are hot enough that water droplets sizzle immediately.
- Place the seasoned onion skewers on the cool side of the grill to cook slowly and develop sweetness without charring too quickly. Cook for 25-40 minutes total, flipping every 10-15 minutes to ensure even cooking and caramelization on both sides. The onions are done when they're completely tender and pull apart easily with a fork, with the edges and flat surfaces nicely caramelized and slightly charred. I find that smaller onions cook faster while larger ones may need closer to 40 minutes, so check for tenderness rather than relying solely on time.
- Transfer the grilled onions to a serving plate or board and drizzle with balsamic glaze while they're still warm. The warmth helps the glaze coat the onions evenly and brings out the sweet and slightly tart flavors that complement the caramelized sweetness of the grilled onions perfectly.