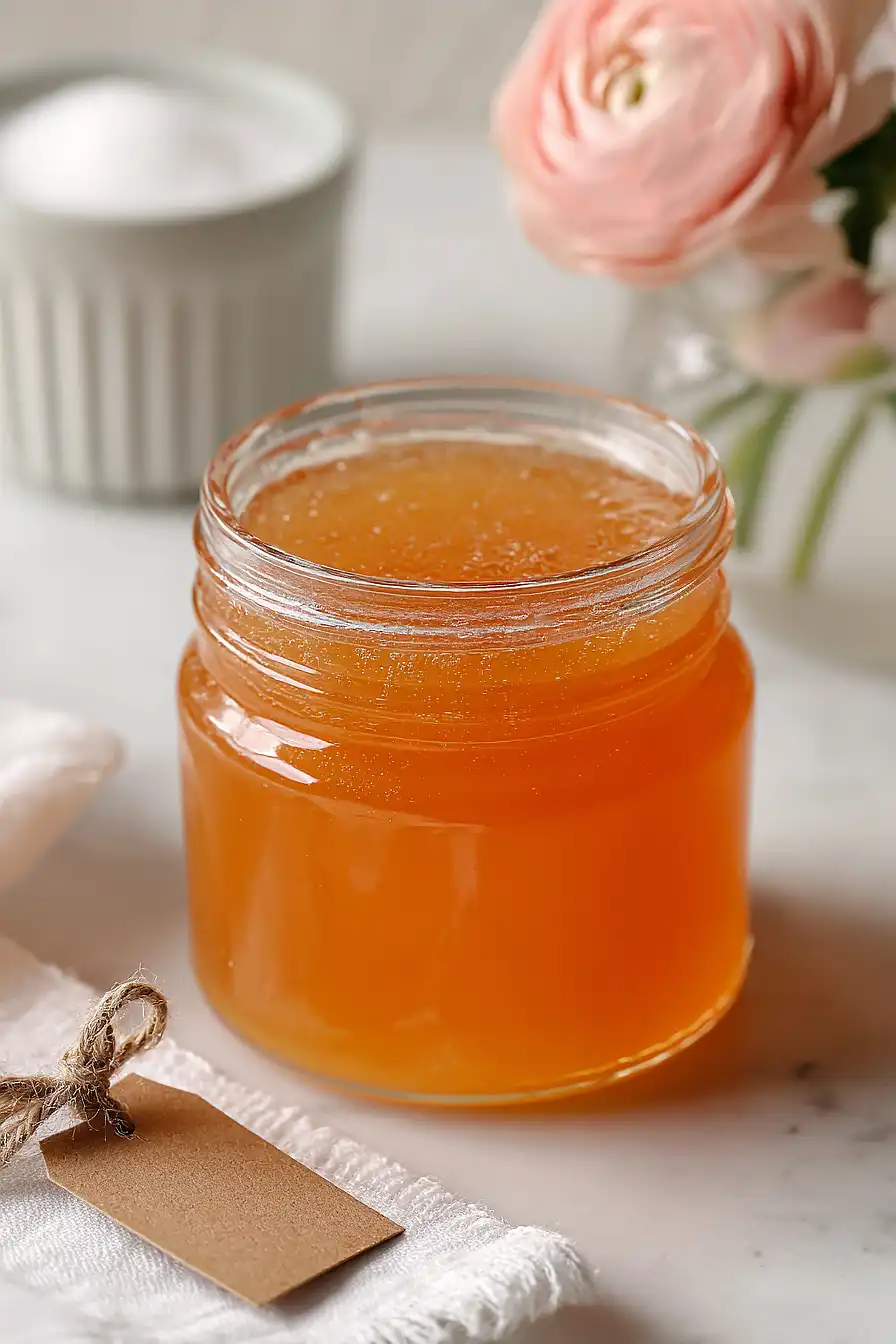
Here is my favorite apricot jelly recipe, with fresh apricots, lemon juice for the perfect set, and just the right amount of pectin to get that beautiful jelly texture every time.
This apricot jelly is what I make every summer when apricots are at their peak. I always put up at least a dozen jars because my family goes through them so fast on toast, biscuits, and even stirred into yogurt. There’s really nothing like homemade jelly to make you feel like you’ve got your life together, right?
Why You’ll Love This Apricot Jelly
- Simple ingredients – You only need fresh apricots, sugar, pectin, and lemon juice to make this homemade jelly that tastes way better than store-bought.
- Quick to make – This recipe comes together in under an hour, so you can have homemade jelly ready to enjoy or gift without spending all day in the kitchen.
- Perfect for preserving summer fruit – When apricots are in season and plentiful, this is a great way to capture their sweet flavor and enjoy it all year long.
- Makes a thoughtful gift – Homemade jelly in pretty jars is always appreciated by friends and family, and it’s more meaningful than anything you could buy at the store.
What Kind of Apricots Should I Use?
Fresh, ripe apricots are your best bet for making jelly with the most flavor. Look for apricots that are firm but give slightly when you press them gently – they should smell sweet and fruity. If your apricots are a bit underripe, that’s actually okay since they contain more natural pectin, which helps your jelly set properly. You can also mix in a few slightly underripe apricots with your ripe ones to get the best of both worlds. Just avoid apricots that are overly soft, bruised, or have brown spots, as these can affect the taste and color of your finished jelly.
Options for Substitutions
While jelly-making requires some precision, there are still a few swaps you can make:
- Apricots: You can use peaches or nectarines instead of apricots for a similar flavor profile. The cooking time and process remain the same.
- Powdered pectin: Don’t substitute this ingredient. Pectin is what makes your jelly set properly, and the sugar ratio is specifically calculated for powdered pectin. Using liquid pectin or skipping it entirely will result in a runny jelly.
- Bottled lemon juice: Stick with bottled lemon juice rather than fresh for this recipe. Bottled juice has consistent acidity levels, which is important for safe canning and proper jelling.
- Granulated sugar: For jelly, you really need to use the full amount of regular granulated sugar listed. Low-sugar or sugar substitutes require special pectin and different recipes, so don’t try to reduce it here or your jelly won’t set.
Watch Out for These Mistakes While Cooking
The biggest mistake when making apricot jelly is not measuring your juice accurately after straining – you need exactly 5 cups, so if you’re short, add a bit of water, and if you have too much, save the extra for another batch or drink it.
Skipping the full rolling boil after adding sugar will prevent your jelly from setting properly, so make sure the mixture is bubbling vigorously across the entire surface before you start timing that crucial 1-minute mark.
Another common error is leaving too much headspace in your jars – aim for 1/4 inch from the top to ensure a proper seal during the water bath processing.
Finally, resist the urge to check if your jelly has set right away, as it can take up to 24 hours to fully firm up after cooling, so give it time before you start worrying.
What to Serve With Apricot Jelly?
Apricot jelly is perfect spread on warm buttermilk biscuits or English muffins for breakfast, and it also makes a great addition to your cheese board alongside some brie or goat cheese. I love using it as a glaze for roasted chicken or pork chops – just brush it on during the last few minutes of cooking for a sweet and tangy finish. You can also swirl it into plain yogurt or oatmeal for a fruity breakfast, or use it as a filling for thumbprint cookies. If you’re feeling fancy, try pairing it with cream cheese on crackers for an easy appetizer that everyone will love.
Storage Instructions
Store: Once your jars have cooled and sealed properly, store them in a cool, dark place like a pantry or cupboard for up to a year. After opening a jar, keep it in the fridge and use it within 3 weeks for the best flavor and texture.
Check Seals: Make sure to check that all your jars sealed correctly by pressing down on the center of each lid. If it doesn’t pop back, you’re good to go! Any jars that didn’t seal should go straight into the fridge and be used within a couple weeks.
Freeze Extra: If you end up with more jelly than you can use in a year, you can freeze it in freezer-safe containers for up to a year. Just leave about half an inch of headspace at the top to allow for expansion, and thaw it in the fridge when you’re ready to use it.
| Preparation Time | 30-40 minutes |
| Cooking Time | 10-15 minutes |
| Total Time | 40-55 minutes |
| Level of Difficulty | Medium |
| Servings | 8 cups of jelly |
Estimated Nutrition
Estimated nutrition for the whole recipe (without optional ingredients):
- Calories: 3500-3700
- Protein: 8-10 g
- Fat: 0-2 g
- Carbohydrates: 900-950 g
Ingredients
- 5 lb apricots (pitted and cut into 1-inch chunks)
- 2 1/4 cups water
- 6 tbsp pectin (I use Ball RealFruit Classic)
- 2 1/2 tbsp lemon juice (freshly squeezed for better setting)
- 5 cups sugar
- 1/4 tsp salt
- 1/2 tsp unsalted butter (to prevent foaming)
Step 1: Prepare and Cook the Apricots
- 5 lb apricots
- 2 1/4 cups water
Wash the apricots thoroughly, then halve them and remove the pits.
Cut the pitted apricots into 1-inch chunks.
In a large pot, combine the apricot chunks with water and bring to a boil over medium-high heat.
Once boiling, reduce heat to medium and simmer for 10 minutes, stirring occasionally and mashing the fruit with a potato masher or wooden spoon to break down the apricots and release their juice.
The mixture should become soft and pulpy.
Step 2: Extract the Apricot Juice
- cooked apricot mixture from Step 1
Pour the cooked apricot mixture through a fine-mesh sieve into a large bowl, pressing gently on the solids with the back of a spoon to extract as much liquid as possible.
Don’t press too hard or you’ll force pulp through the sieve, which will make the jelly cloudy rather than clear.
Measure out exactly 5 cups of the strained juice—this is the ideal amount for proper gel setting with the pectin ratio.
Step 3: Combine Juice with Pectin and Acid
- 5 cups apricot juice from Step 2
- 6 tbsp pectin
- 2 1/2 tbsp lemon juice
Pour the 5 cups of apricot juice into a clean, large pot (I prefer stainless steel for jelly-making as it heats evenly).
Add the pectin and lemon juice, stirring constantly to dissolve the pectin completely and prevent lumping.
The lemon juice serves double duty here—it brightens the apricot flavor and provides acidity that helps the pectin set properly.
Make sure there are no visible pectin clumps before proceeding.
Step 4: Bring Mixture to a Rolling Boil
- juice mixture from Step 3
- 1/2 tsp unsalted butter
- 1/4 tsp salt
Increase heat to high and bring the mixture to a rolling boil, stirring frequently.
Once it reaches a full, rolling boil (where large bubbles break through the surface continuously), add the butter and salt.
The butter helps break down foam that forms on top, making the jelly clearer and easier to jar, while the salt enhances the apricot flavor without making it taste salty.
Step 5: Add Sugar and Boil to Setting Point
- mixture from Step 4
- 5 cups sugar
Stir in all the sugar, making sure it dissolves completely and the mixture returns to a rolling boil.
Once boiling again, maintain the heat at high and boil for exactly 1 minute—this timing allows the pectin to set properly without overcooking the jelly.
Don’t skip the full minute, as this ensures your jelly will gel correctly.
Step 6: Jar and Process the Jelly
- jelly from Step 5
Remove the pot from heat immediately after the 1-minute boil.
Skim any remaining foam from the surface with a spoon.
Carefully pour the hot jelly into sterilized jars, leaving 1/4 inch of headspace at the top.
Place lids on the jars and process them in a boiling water bath for 10 minutes to ensure proper sealing and food safety.
The jars should seal with a popping sound as they cool.
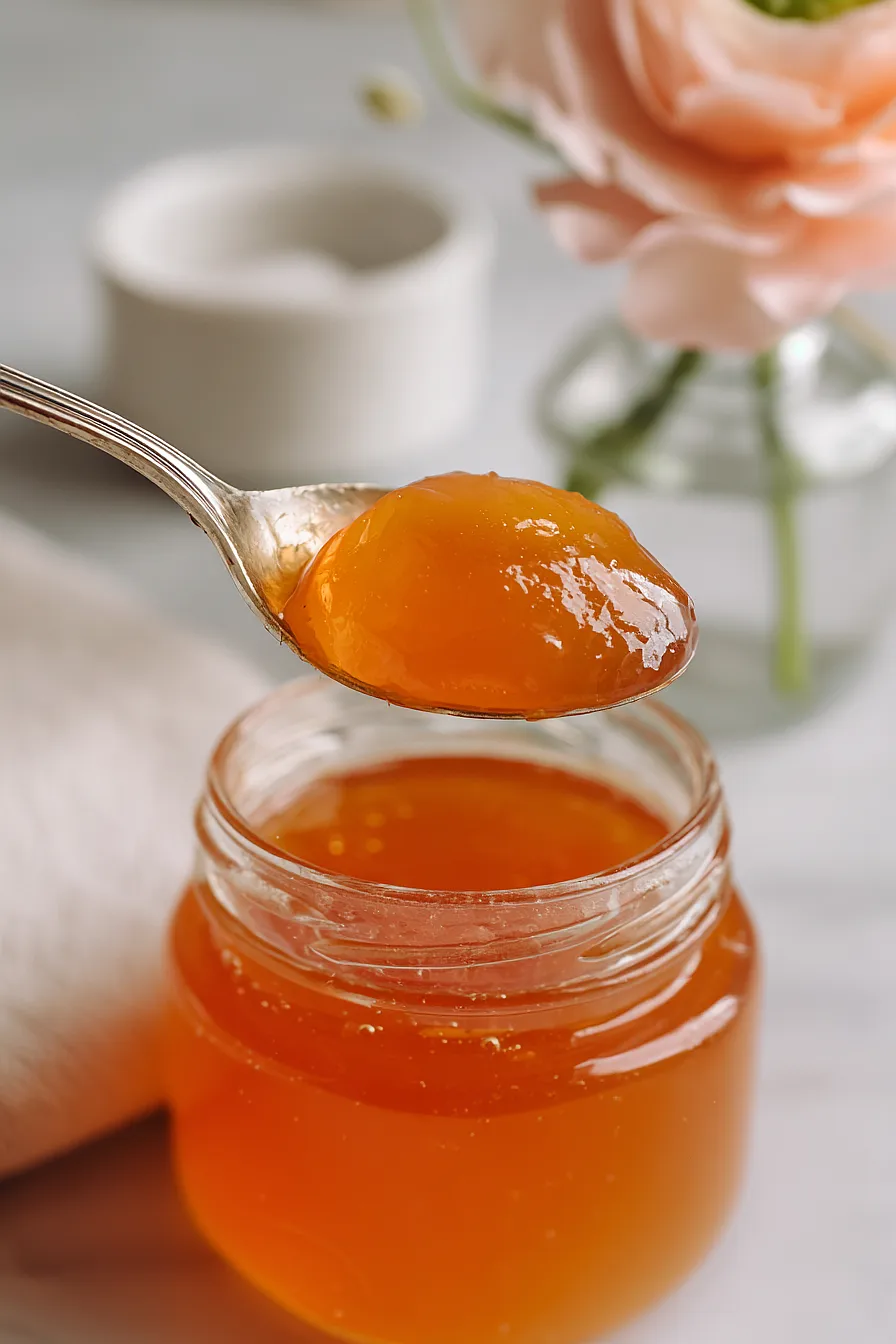
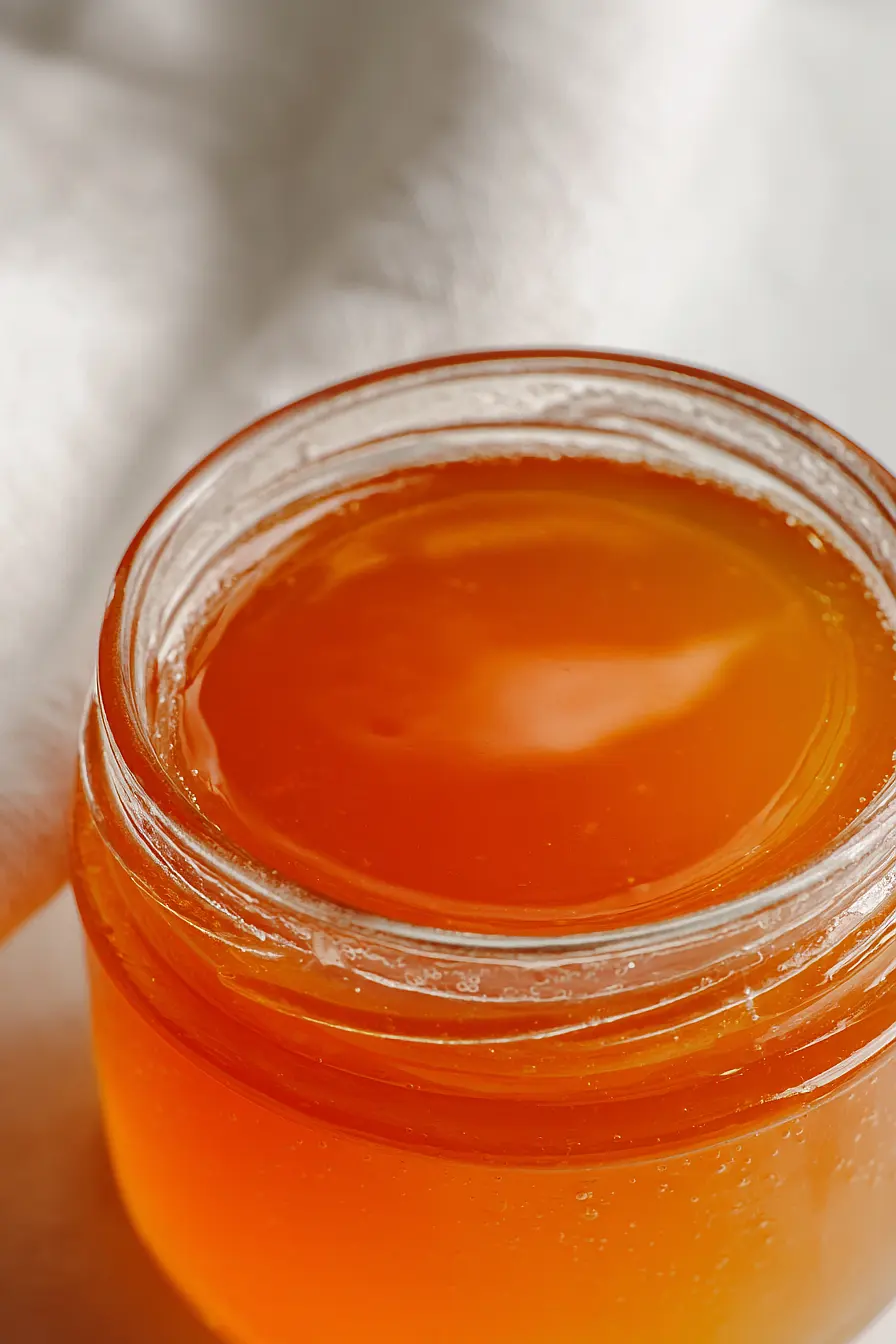
Smooth Apricot Jelly
Ingredients
Method
- Wash the apricots thoroughly, then halve them and remove the pits. Cut the pitted apricots into 1-inch chunks. In a large pot, combine the apricot chunks with water and bring to a boil over medium-high heat. Once boiling, reduce heat to medium and simmer for 10 minutes, stirring occasionally and mashing the fruit with a potato masher or wooden spoon to break down the apricots and release their juice. The mixture should become soft and pulpy.
- Pour the cooked apricot mixture through a fine-mesh sieve into a large bowl, pressing gently on the solids with the back of a spoon to extract as much liquid as possible. Don't press too hard or you'll force pulp through the sieve, which will make the jelly cloudy rather than clear. Measure out exactly 5 cups of the strained juice—this is the ideal amount for proper gel setting with the pectin ratio.
- Pour the 5 cups of apricot juice into a clean, large pot (I prefer stainless steel for jelly-making as it heats evenly). Add the pectin and lemon juice, stirring constantly to dissolve the pectin completely and prevent lumping. The lemon juice serves double duty here—it brightens the apricot flavor and provides acidity that helps the pectin set properly. Make sure there are no visible pectin clumps before proceeding.
- Increase heat to high and bring the mixture to a rolling boil, stirring frequently. Once it reaches a full, rolling boil (where large bubbles break through the surface continuously), add the butter and salt. The butter helps break down foam that forms on top, making the jelly clearer and easier to jar, while the salt enhances the apricot flavor without making it taste salty.
- Stir in all the sugar, making sure it dissolves completely and the mixture returns to a rolling boil. Once boiling again, maintain the heat at high and boil for exactly 1 minute—this timing allows the pectin to set properly without overcooking the jelly. Don't skip the full minute, as this ensures your jelly will gel correctly.
- Remove the pot from heat immediately after the 1-minute boil. Skim any remaining foam from the surface with a spoon. Carefully pour the hot jelly into sterilized jars, leaving 1/4 inch of headspace at the top. Place lids on the jars and process them in a boiling water bath for 10 minutes to ensure proper sealing and food safety. The jars should seal with a popping sound as they cool.