I’ve always believed that the best brownies are the ones you can actually make without running to the store for eggs. There’s nothing worse than craving a warm, fudgy brownie only to open your fridge and find an empty egg carton staring back at you. That’s when I discovered that Greek yogurt does the job just as well, if not better.
These brownies came together on one of those afternoons when my pantry was looking a little sad, but I had yogurt in the fridge and a serious chocolate craving. The yogurt keeps them moist and gives them this really nice texture that my family couldn’t stop talking about. No one even noticed there weren’t any eggs in them.
Want something rich and chocolatey? These are for you. Need a recipe that works with what’s already in your kitchen? Same. Plus, you can have these in the oven in about ten minutes, which means you’re never more than half an hour away from a brownie.
Why You’ll Love These Greek Yogurt Brownies
- No eggs needed – Greek yogurt does all the work here, making these brownies perfect for when you’re out of eggs or need an egg-free option for allergies.
- Quick and easy – These brownies come together in just 30-40 minutes from start to finish, so you can satisfy your chocolate craving without spending all day in the kitchen.
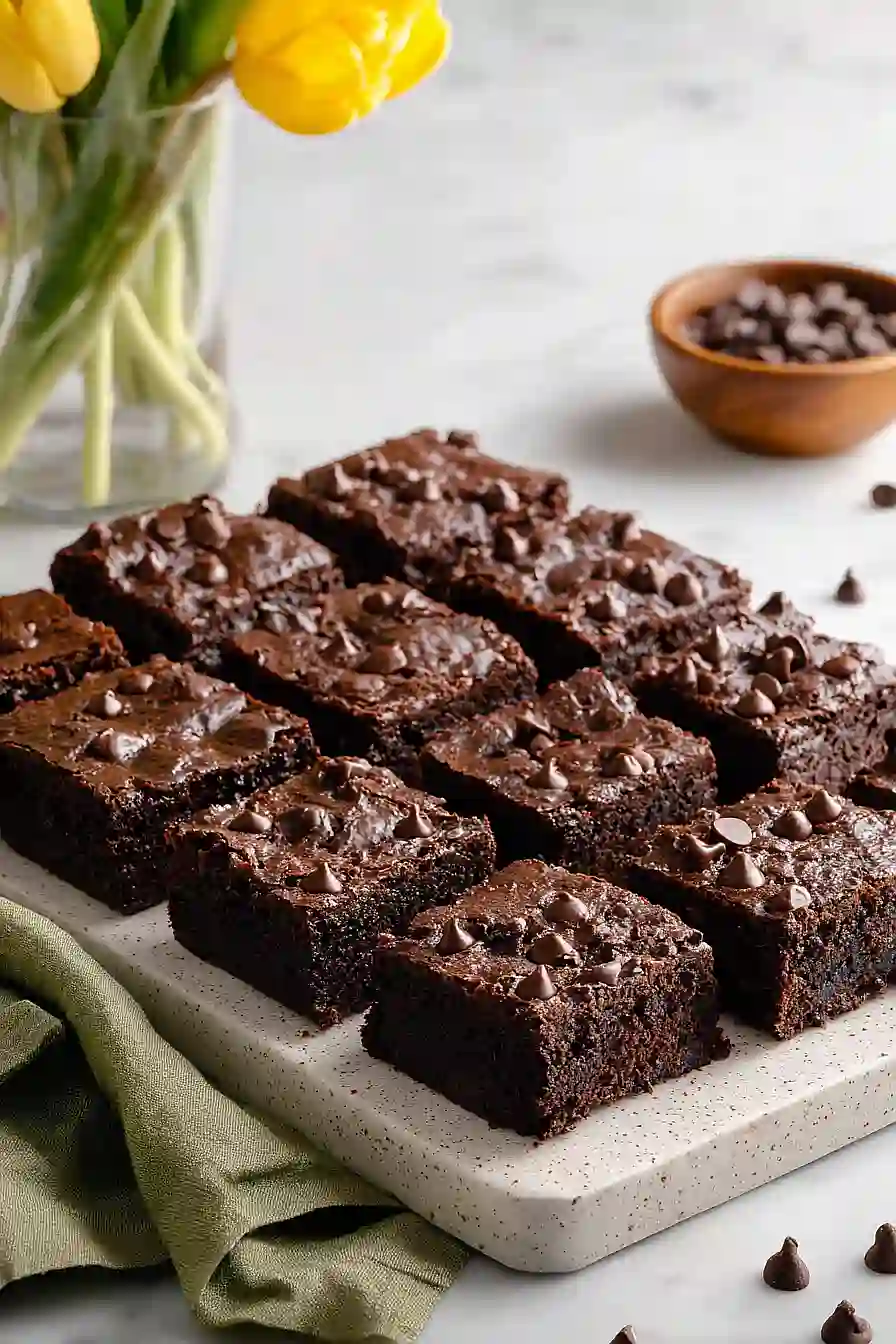
- Rich and fudgy texture – The combination of cocoa powder, chocolate chips, and Greek yogurt creates incredibly moist, decadent brownies that taste like they came from a bakery.
- Simple pantry ingredients – You probably have most of these staples in your kitchen already, making this an easy go-to recipe for last-minute desserts.
What Kind of Greek Yogurt Should I Use?
For these brownies, full-fat Greek yogurt is your best bet since it adds moisture and richness that helps make up for the lack of eggs. That said, if you only have low-fat or non-fat Greek yogurt on hand, it’ll still work – your brownies might just be slightly less fudgy. Make sure you’re using plain Greek yogurt, not regular yogurt, as the thicker consistency is important for the right texture. If your yogurt has separated and there’s liquid on top, just give it a good stir before measuring it out so everything is well combined.
Options for Substitutions
This brownie recipe is pretty forgiving when it comes to swaps, so here are some options if you need to make changes:
- Greek yogurt: Regular yogurt works fine here, though Greek yogurt gives a thicker texture. You can also use sour cream in the same amount for similar results. If you’re dairy-free, try using the same amount of applesauce or mashed banana, though the flavor will be slightly different.
- Butter: You can swap this with coconut oil or vegetable oil in equal amounts. Just melt it first like you would the butter. The texture will be slightly different but still tasty.
- All-purpose flour: For a gluten-free version, use a 1-to-1 gluten-free flour blend. Almond flour won’t work well here as it changes the texture too much.
- Cocoa powder: Dutch-process or natural cocoa both work fine. Don’t substitute with hot chocolate mix though – it contains sugar and milk powder that will throw off the recipe.
- Chocolate chips: Feel free to use chopped chocolate bars, white chocolate chips, or even peanut butter chips if you want to switch things up. You can also leave them out entirely for a more classic brownie.
- Sugar: White sugar is best for this recipe and shouldn’t be substituted, as it affects both texture and sweetness level in ways that other sweeteners can’t replicate.
Watch Out for These Mistakes While Baking
The biggest mistake with eggless brownies is overbaking them, which leads to dry, cakey results instead of the fudgy texture you want – pull them out when the center still looks slightly underdone and jiggles just a bit, as they’ll continue cooking while cooling in the pan.
Since Greek yogurt is the binding agent replacing eggs, make sure you’re using full-fat yogurt rather than low-fat or non-fat versions, which can make your brownies fall apart or turn out too dense.
Another common error is not properly measuring the cocoa powder – spoon it into your measuring cup and level it off instead of scooping directly from the container, which packs it down and can result in bitter, dry brownies.
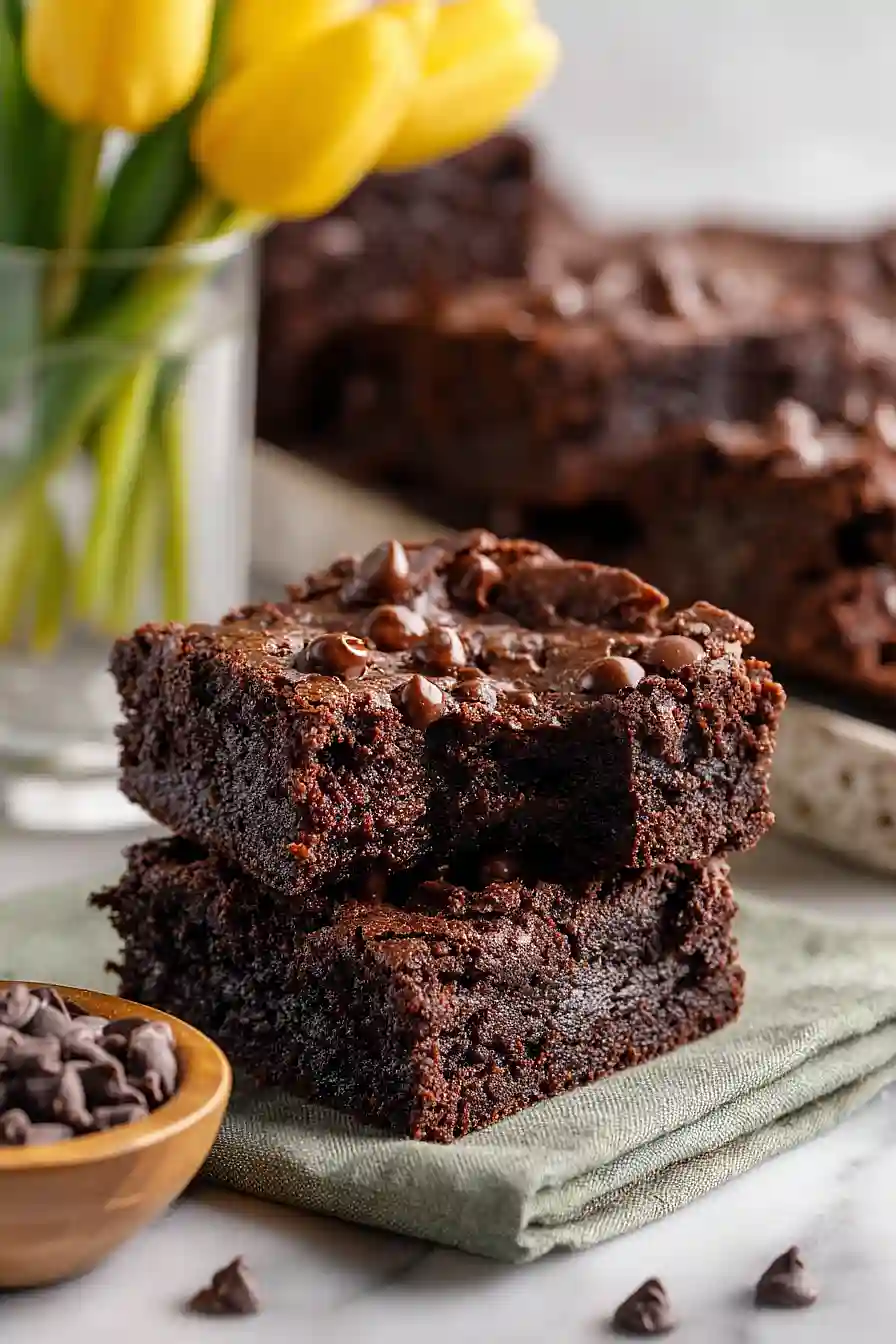
For extra fudgy brownies, try melting half of the chocolate chips into the butter before mixing, and remember that these brownies taste even better the next day once they’ve had time to set up completely.
What to Serve With Greek Yogurt Brownies?
These brownies are rich and fudgy on their own, but they’re even better with a scoop of vanilla ice cream melting on top. I love serving them warm with a drizzle of chocolate or caramel sauce, and maybe some whipped cream if I’m feeling extra. A cold glass of milk is pretty much mandatory in my house when brownies are involved. If you’re serving these for a party or get-together, try cutting them into small squares and arranging them on a platter with fresh berries like strawberries or raspberries – the tartness of the fruit balances out the chocolate really nicely.
Storage Instructions
Store: These brownies stay moist and fudgy for days when kept in an airtight container at room temperature. They’ll be good for about 3-4 days on the counter, or you can refrigerate them for up to a week if you prefer them chilled and extra dense.
Freeze: Brownies are one of my favorite things to freeze because they thaw so well. Wrap individual pieces in plastic wrap, then place them all in a freezer bag for up to 3 months. This way you can grab just one or two whenever a chocolate craving hits!
Enjoy: Let frozen brownies sit at room temperature for about 30 minutes to thaw completely. If you’re impatient like me, you can microwave them for 10-15 seconds for that fresh-from-the-oven warmth. They taste amazing either way, honestly.
| Preparation Time | 10-15 minutes |
| Cooking Time | 20-25 minutes |
| Total Time | 30-40 minutes |
| Level of Difficulty | Easy |
| Servings | 12 pieces |
Estimated Nutrition
Estimated nutrition for the whole recipe (without optional ingredients):
- Calories: 3100-3400
- Protein: 28-34 g
- Fat: 155-170 g
- Carbohydrates: 410-440 g
Ingredients
For the brownie batter:
- 1/4 tsp salt
- 1 tbsp vanilla
- 1 cup flour (I always use King Arthur all-purpose flour)
- 3/4 cup cocoa powder (sifted to remove lumps)
- 3/4 cup chocolate chips
- 2/3 cup butter (melted and cooled to room temperature)
- 1 1/2 cups sugar
- 3/4 cup yogurt (I prefer Fage 5% for better texture and moisture)
For the topping:
- 1/4 cup chocolate chips (I use Ghirardelli semi-sweet for a rich finish)
Step 1: Prepare Your Pan and Preheat the Oven
Heat your oven to 350°F and line an 8×8 inch baking pan (or 9×9 inch if you prefer thinner brownies) with parchment paper, allowing some overhang on the sides for easy removal later.
This prep work takes just a minute but ensures your batter goes into a ready-to-use pan, which is crucial for even baking.
Step 2: Create the Dry Ingredient Mixture
- 1 cup flour
- 3/4 cup cocoa powder
- 1/4 tsp salt
In a medium bowl, whisk together the flour, sifted cocoa powder, and salt.
Sifting the cocoa is essential—it removes lumps and ensures even distribution of cocoa flavor throughout the brownies.
I always give this mixture a good whisking even after sifting the cocoa to break up any remaining clumps and incorporate air, which helps the brownies rise slightly during baking.
Step 3: Build the Wet Base with Butter and Sugar
- 2/3 cup butter
- 1 1/2 cups sugar
- 1 tbsp vanilla
In a large bowl, whisk together the melted and cooled butter, sugar, and vanilla extract until well combined.
Make sure the butter has cooled to room temperature before mixing—warm butter can affect the texture of the final brownies.
Whisking these ingredients together creates a foundation that will bind with the yogurt and help distribute moisture evenly throughout the batter.
Step 4: Incorporate the Yogurt into the Wet Mixture
- 3/4 cup yogurt
Add the yogurt to the butter-sugar mixture and stir until completely combined and smooth.
The yogurt replaces the eggs in this recipe and provides moisture and a slight tang that enhances the chocolate flavor.
I prefer Fage 5% because its thicker consistency and higher fat content create a denser, more fudgy texture than thinner yogurts.
Step 5: Combine Wet and Dry Ingredients
- wet ingredient mixture from Step 4
- dry ingredient mixture from Step 2
Pour the wet ingredient mixture from Step 4 into the bowl with the dry ingredients from Step 2.
Stir until just combined—don’t overmix, as this can develop gluten and make the brownies tough.
Stop as soon as you no longer see streaks of dry flour; a slightly lumpy batter is actually what you want here.
Step 6: Fold in Chocolate Chips and Transfer to Pan
- 3/4 cup chocolate chips
- 1/4 cup chocolate chips
Gently fold 3/4 cup chocolate chips into the batter using a spatula, then pour the batter into your prepared pan.
Spread it evenly and smooth the top.
Sprinkle the remaining 1/4 cup chocolate chips over the surface—these will partially melt into the batter during baking, creating pockets of rich chocolate throughout.
Step 7: Bake and Cool
Bake for 20-24 minutes, until a toothpick inserted into the center comes out with just a few moist crumbs (not completely clean—this keeps them fudgy).
Let the brownies cool completely in the pan before cutting, about 1-2 hours.
This cooling time allows them to set properly and makes them easier to slice cleanly.
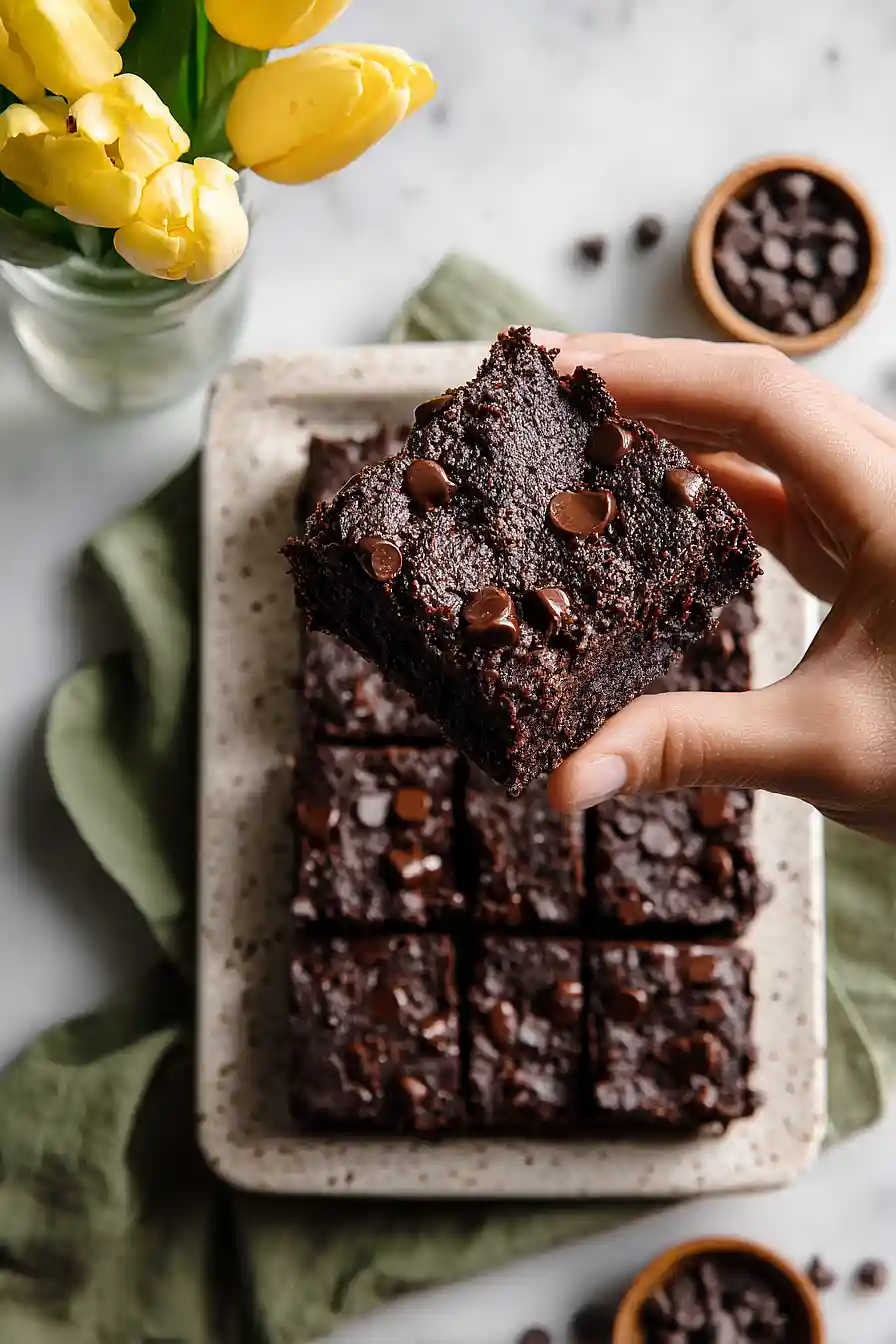
Use the parchment overhang to lift the entire brownie block out of the pan for neat cutting.
Easy No Eggs Greek Yogurt Brownies
Ingredients
Method
- Heat your oven to 350°F and line an 8x8 inch baking pan (or 9x9 inch if you prefer thinner brownies) with parchment paper, allowing some overhang on the sides for easy removal later. This prep work takes just a minute but ensures your batter goes into a ready-to-use pan, which is crucial for even baking.
- In a medium bowl, whisk together the flour, sifted cocoa powder, and salt. Sifting the cocoa is essential—it removes lumps and ensures even distribution of cocoa flavor throughout the brownies. I always give this mixture a good whisking even after sifting the cocoa to break up any remaining clumps and incorporate air, which helps the brownies rise slightly during baking.
- In a large bowl, whisk together the melted and cooled butter, sugar, and vanilla extract until well combined. Make sure the butter has cooled to room temperature before mixing—warm butter can affect the texture of the final brownies. Whisking these ingredients together creates a foundation that will bind with the yogurt and help distribute moisture evenly throughout the batter.
- Add the yogurt to the butter-sugar mixture and stir until completely combined and smooth. The yogurt replaces the eggs in this recipe and provides moisture and a slight tang that enhances the chocolate flavor. I prefer Fage 5% because its thicker consistency and higher fat content create a denser, more fudgy texture than thinner yogurts.
- Pour the wet ingredient mixture from Step 4 into the bowl with the dry ingredients from Step 2. Stir until just combined—don't overmix, as this can develop gluten and make the brownies tough. Stop as soon as you no longer see streaks of dry flour; a slightly lumpy batter is actually what you want here.
- Gently fold 3/4 cup chocolate chips into the batter using a spatula, then pour the batter into your prepared pan. Spread it evenly and smooth the top. Sprinkle the remaining 1/4 cup chocolate chips over the surface—these will partially melt into the batter during baking, creating pockets of rich chocolate throughout.
- Bake for 20-24 minutes, until a toothpick inserted into the center comes out with just a few moist crumbs (not completely clean—this keeps them fudgy). Let the brownies cool completely in the pan before cutting, about 1-2 hours. This cooling time allows them to set properly and makes them easier to slice cleanly. Use the parchment overhang to lift the entire brownie block out of the pan for neat cutting.