Grilled chicken shows up on our dinner table at least twice a week during the summer. My family never gets tired of it, but plain salt and pepper can get boring fast. I used to buy those pre-made spice blends from the store until I realized how easy it is to make my own.
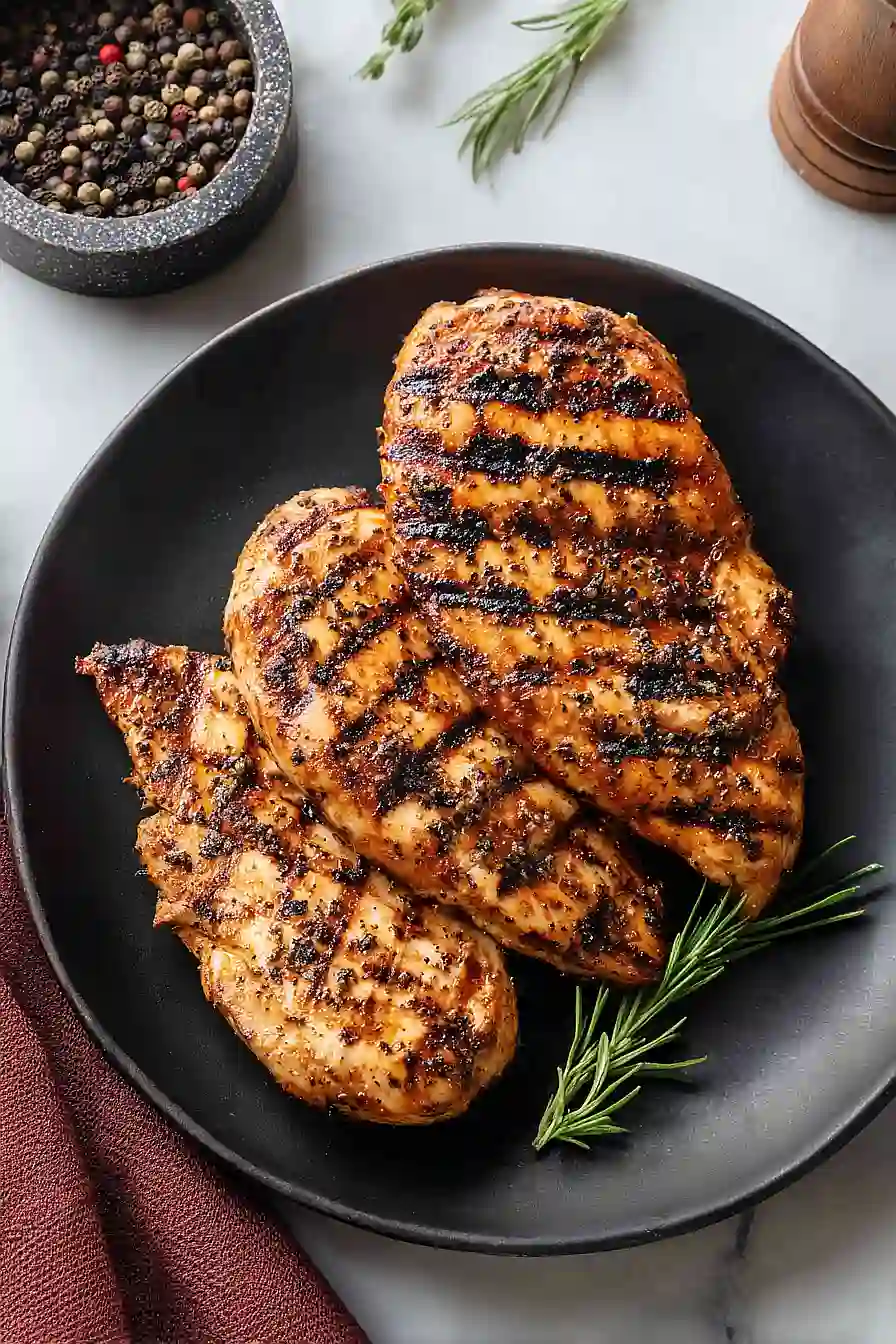
This homemade grilled chicken seasoning takes about five minutes to throw together, and I always have the ingredients in my pantry. I mix up a big batch and keep it in a jar by the stove. The smoked paprika gives the chicken a nice color, and the brown sugar helps create that slightly crispy outside that everyone loves.
Want juicy grilled chicken with actual flavor? This is the seasoning blend you need. I use it on chicken breasts, thighs, even whole chickens. My husband says it’s better than anything we’ve bought at the store, and my kids actually ask for seconds.
Why You’ll Love This Grilled Chicken Seasoning
- Pantry staple ingredients – You probably already have most of these spices in your kitchen, so there’s no need for a special shopping trip.
- Ready in minutes – Just mix everything together and you’ve got a flavorful seasoning blend that’s ready to use right away.
- Versatile for any protein – While it’s perfect for grilled chicken, this blend also works great on pork chops, fish, or even roasted vegetables.
- Better than store-bought – Making your own seasoning means you control the salt and spice levels, plus it’s fresher and more affordable than pre-made blends.
- Make ahead and store – Mix up a big batch and keep it in your spice cabinet for quick weeknight dinners whenever you need it.
What Kind of Italian Herb Blend Should I Use?
The Italian herb blend is really the star of this seasoning mix, so it’s worth thinking about what you grab from your spice cabinet. Most Italian seasoning blends you’ll find at the grocery store contain a mix of oregano, basil, thyme, and rosemary, and any of these will work great for this recipe. If you can’t find Italian seasoning, Herbs de Provence is a fantastic substitute that adds a slightly more floral note with lavender mixed in. Just make sure whichever blend you use is relatively fresh – dried herbs lose their punch after about a year, so give yours a sniff to make sure they still smell fragrant before mixing up your seasoning.
Options for Substitutions
This seasoning blend is easy to customize based on what’s in your spice cabinet:
- Italian herb blend: If you don’t have Italian seasoning or Herbs de Provence, make your own mix with equal parts dried basil, oregano, thyme, and rosemary. You can also use just dried oregano and basil in a pinch.
- Smoked paprika: Regular paprika works fine if you don’t have the smoked variety. You’ll lose a bit of that smoky depth, but the blend will still taste great. For a spicier kick, try using hot paprika instead.
- Dry ground mustard: Don’t have ground mustard? You can leave it out entirely or substitute with a tiny bit of turmeric for color and a slightly different flavor profile.
- Brown sugar: White sugar works just as well here. You can also use coconut sugar or skip the sugar altogether if you prefer a less sweet seasoning.
- Cayenne pepper: Adjust the heat to your liking – use less cayenne for a milder blend, or swap it with red pepper flakes or chili powder for a different type of heat.
Watch Out for These Mistakes While Grilling
The biggest mistake when using a dry rub is applying it right before grilling, which doesn’t give the flavors time to penetrate the meat – for best results, rub the seasoning on your chicken at least 30 minutes before cooking, or even better, let it sit in the fridge for a few hours.
Another common error is forgetting to oil the chicken before adding the rub, which causes the spices to fall off during grilling instead of forming that nice crust you want.
Don’t skip checking the internal temperature with a meat thermometer – pull your chicken off the grill when it reaches 155°F in the thickest part, as it will continue cooking to the safe 165°F while resting.
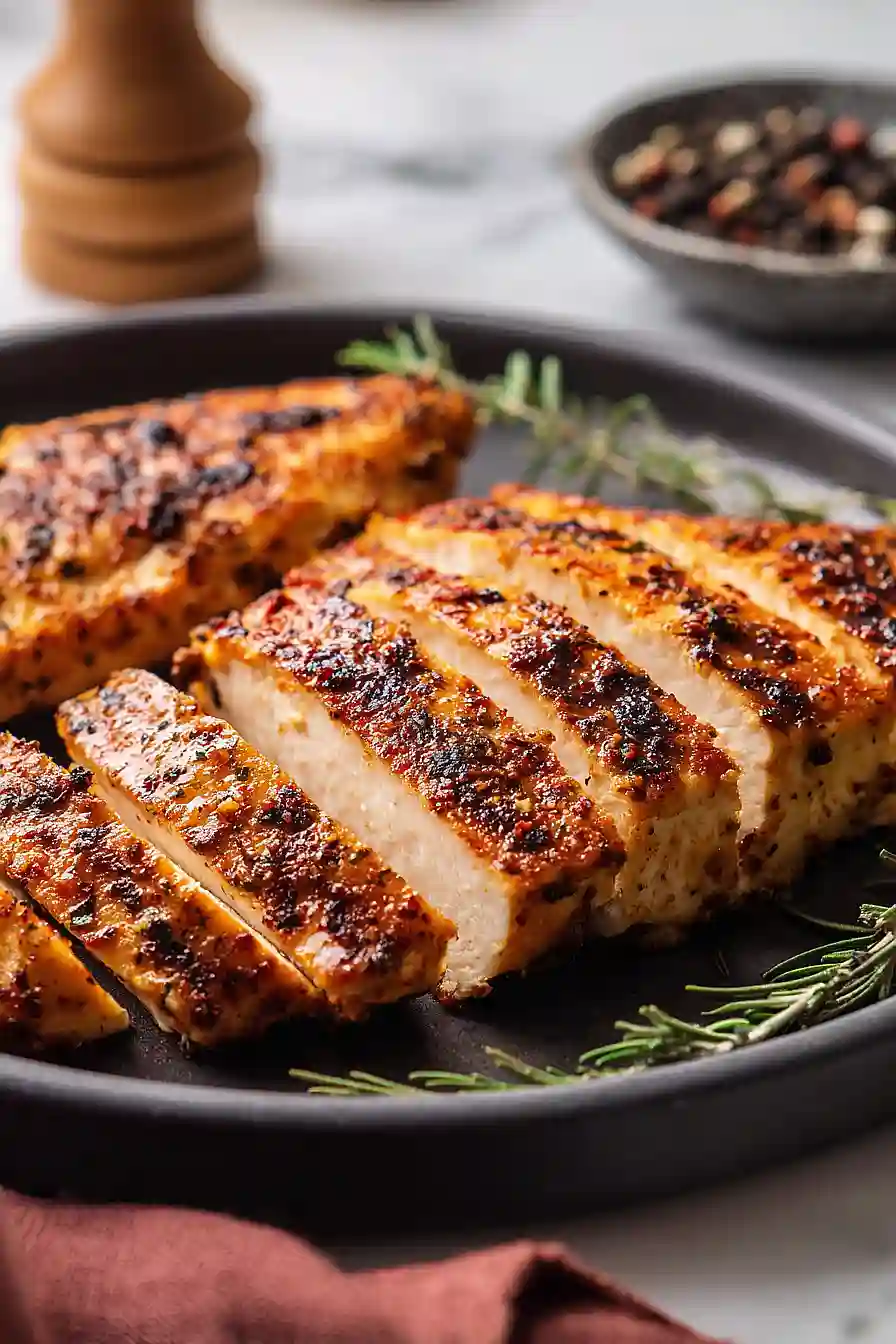
Finally, cutting into the chicken immediately after grilling releases all those juices onto your cutting board instead of keeping them in the meat, so let it rest for 5-10 minutes before slicing.
What to Serve With Grilled Chicken Seasoning?
This seasoning blend works great on boneless chicken breasts, thighs, or even a whole spatchcocked chicken thrown on the grill. I love pairing grilled chicken with simple sides like roasted vegetables, a crisp Caesar salad, or some buttery corn on the cob during summer months. For a heartier meal, serve your seasoned chicken alongside garlic mashed potatoes, rice pilaf, or a pasta salad with fresh herbs. You can also slice up the grilled chicken and toss it into wraps, grain bowls, or on top of mixed greens for an easy weeknight dinner.
Storage Instructions
Store: Keep your grilled chicken seasoning in an airtight container or small mason jar in a cool, dry spot like your spice cabinet. It’ll stay fresh and flavorful for up to 6 months, though I usually go through mine way faster than that! Just make sure to use a dry spoon when scooping it out to prevent any moisture from getting in.
Make Ahead: This is one of those recipes that’s perfect for making in bulk. I like to double or triple the batch and keep extra jars on hand for quick weeknight dinners. You can even portion it into smaller containers to give as gifts or keep one in your camping supplies for easy outdoor cooking.
| Preparation Time | 5-10 minutes |
| Cooking Time | 15-25 minutes |
| Total Time | 20-35 minutes |
| Level of Difficulty | Easy |
| Servings | 0.35 cups of seasoning |
Estimated Nutrition
Estimated nutrition for the whole recipe (without optional ingredients):
- Calories: 70-90
- Protein: 2-3 g
- Fat: 1-2 g
- Carbohydrates: 15-20 g
Ingredients
- 1 tablespoon Morton Kosher salt
- 1 tablespoon dried Italian seasoning
- 1 tablespoon smoked paprika (increased for deeper color)
- 2 teaspoons garlic powder
- 1 1/2 teaspoons lightly packed brown sugar
- 1 teaspoon mustard powder
- 1 teaspoon ground black pepper
- 1/2 teaspoon onion powder
- 1/2 teaspoon cayenne pepper
- 1/2 teaspoon dried thyme
Step 1: Combine and Toast the Dry Seasoning Blend
- 1 tablespoon Morton Kosher salt
- 1 tablespoon dried Italian seasoning
- 1 tablespoon smoked paprika
- 2 teaspoons garlic powder
- 1 1/2 teaspoons lightly packed brown sugar
- 1 teaspoon mustard powder
- 1 teaspoon ground black pepper
- 1/2 teaspoon onion powder
- 1/2 teaspoon cayenne pepper
- 1/2 teaspoon dried thyme
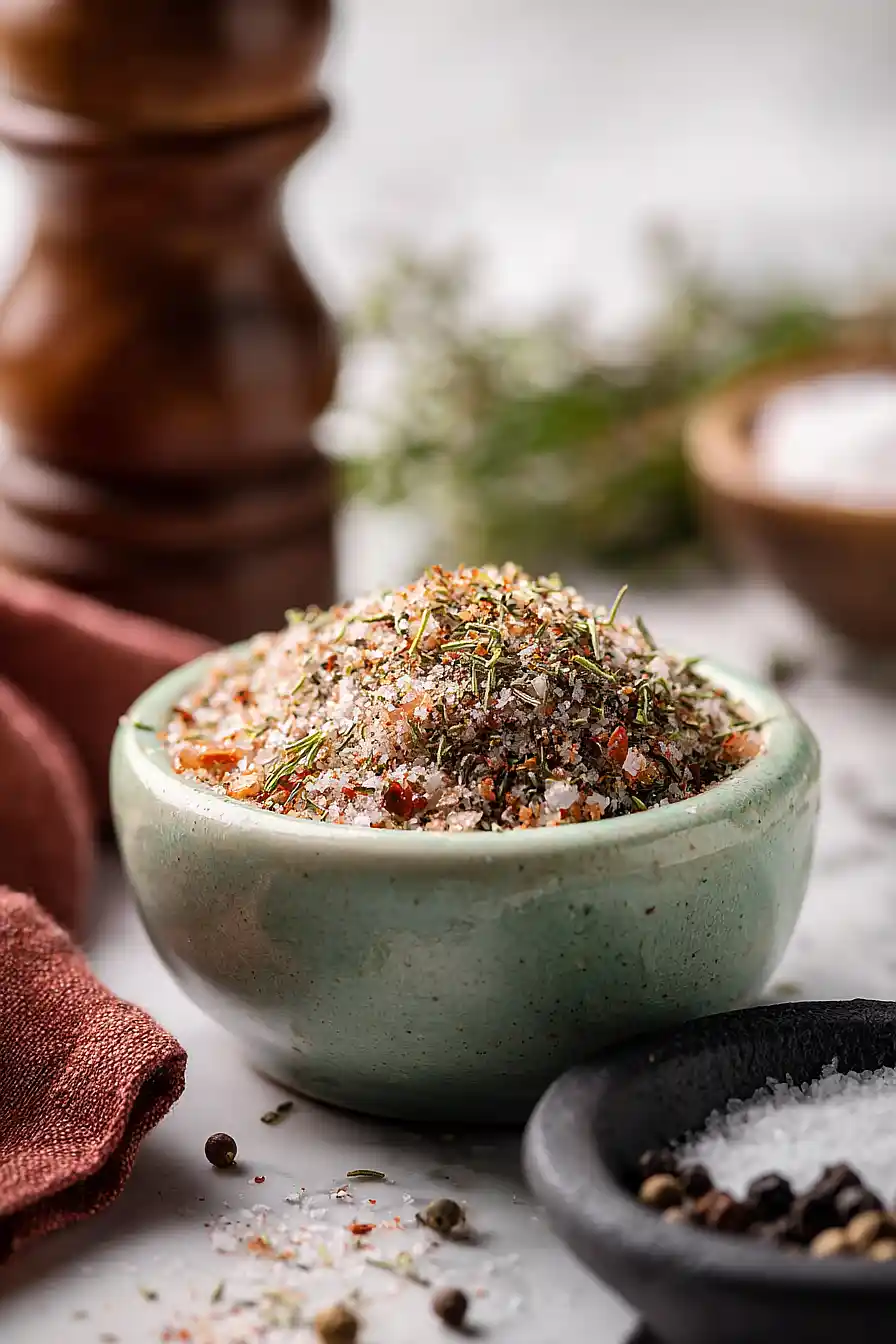
In a small bowl, whisk together all the dry ingredients: kosher salt, dried Italian seasoning, smoked paprika, garlic powder, brown sugar, mustard powder, black pepper, onion powder, cayenne pepper, and dried thyme.
I like to give everything a good stir to ensure the brown sugar doesn’t clump and the spices are evenly distributed—this prevents any one flavor from dominating when you apply it to the chicken.
If you have time, let the mixture sit for a few minutes so the flavors can meld slightly before using.
Step 2: Prepare and Season the Chicken
- seasoning blend from Step 1
- chicken
Pat your chicken dry with paper towels to remove any surface moisture—this helps the seasoning adhere better and promotes better browning on the grill.
Lightly brush or rub oil onto all sides of the chicken, then generously apply the seasoning blend from Step 1, working it into all crevices and making sure both sides are well coated.
I find that using my fingertips to rub the seasoning directly onto the chicken gives me better control and ensures an even coat.
Let the seasoned chicken sit at room temperature for 10-15 minutes before grilling to allow the flavors to start penetrating the meat.
Step 3: Grill the Chicken Until Cooked Through
- seasoned chicken from Step 2
Preheat your grill to medium-high heat (around 375-400°F).
Place the seasoned chicken on the hot grill grates and cook without moving it for 6-8 minutes (for chicken breasts or thighs), allowing a nice crust to form.
Flip the chicken and cook for another 6-8 minutes on the other side, or until the internal temperature reaches 165°F when measured with a meat thermometer at the thickest part.
The exact timing will depend on the thickness and type of chicken you’re using, so rely on temperature rather than time alone.
Step 4: Rest and Serve
- grilled chicken from Step 3
Transfer the grilled chicken to a cutting board or serving plate and let it rest for 5 minutes before cutting or serving.
This resting period allows the juices to redistribute throughout the meat, keeping it moist and tender.
Serve as is for bone-in pieces, or slice and plate as desired.
Classic Grilled Chicken Seasoning
Ingredients
Method
- In a small bowl, whisk together all the dry ingredients: kosher salt, dried Italian seasoning, smoked paprika, garlic powder, brown sugar, mustard powder, black pepper, onion powder, cayenne pepper, and dried thyme. I like to give everything a good stir to ensure the brown sugar doesn't clump and the spices are evenly distributed—this prevents any one flavor from dominating when you apply it to the chicken. If you have time, let the mixture sit for a few minutes so the flavors can meld slightly before using.
- Pat your chicken dry with paper towels to remove any surface moisture—this helps the seasoning adhere better and promotes better browning on the grill. Lightly brush or rub oil onto all sides of the chicken, then generously apply the seasoning blend from Step 1, working it into all crevices and making sure both sides are well coated. I find that using my fingertips to rub the seasoning directly onto the chicken gives me better control and ensures an even coat. Let the seasoned chicken sit at room temperature for 10-15 minutes before grilling to allow the flavors to start penetrating the meat.
- Preheat your grill to medium-high heat (around 375-400°F). Place the seasoned chicken on the hot grill grates and cook without moving it for 6-8 minutes (for chicken breasts or thighs), allowing a nice crust to form. Flip the chicken and cook for another 6-8 minutes on the other side, or until the internal temperature reaches 165°F when measured with a meat thermometer at the thickest part. The exact timing will depend on the thickness and type of chicken you're using, so rely on temperature rather than time alone.
- Transfer the grilled chicken to a cutting board or serving plate and let it rest for 5 minutes before cutting or serving. This resting period allows the juices to redistribute throughout the meat, keeping it moist and tender. Serve as is for bone-in pieces, or slice and plate as desired.