Finding a way to preserve the sweet taste of summer black raspberries can feel like a daunting task, especially when you’ve got a kitchen full of fresh berries that won’t last long. Sure, you could freeze them, but there’s something special about turning them into homemade jelly that you can enjoy all year round.
This black raspberry jelly recipe makes the whole process easier than you might think. With just a handful of ingredients and a few simple steps, you’ll have beautiful jars of homemade jelly that taste incredible on toast, biscuits, or even stirred into yogurt.
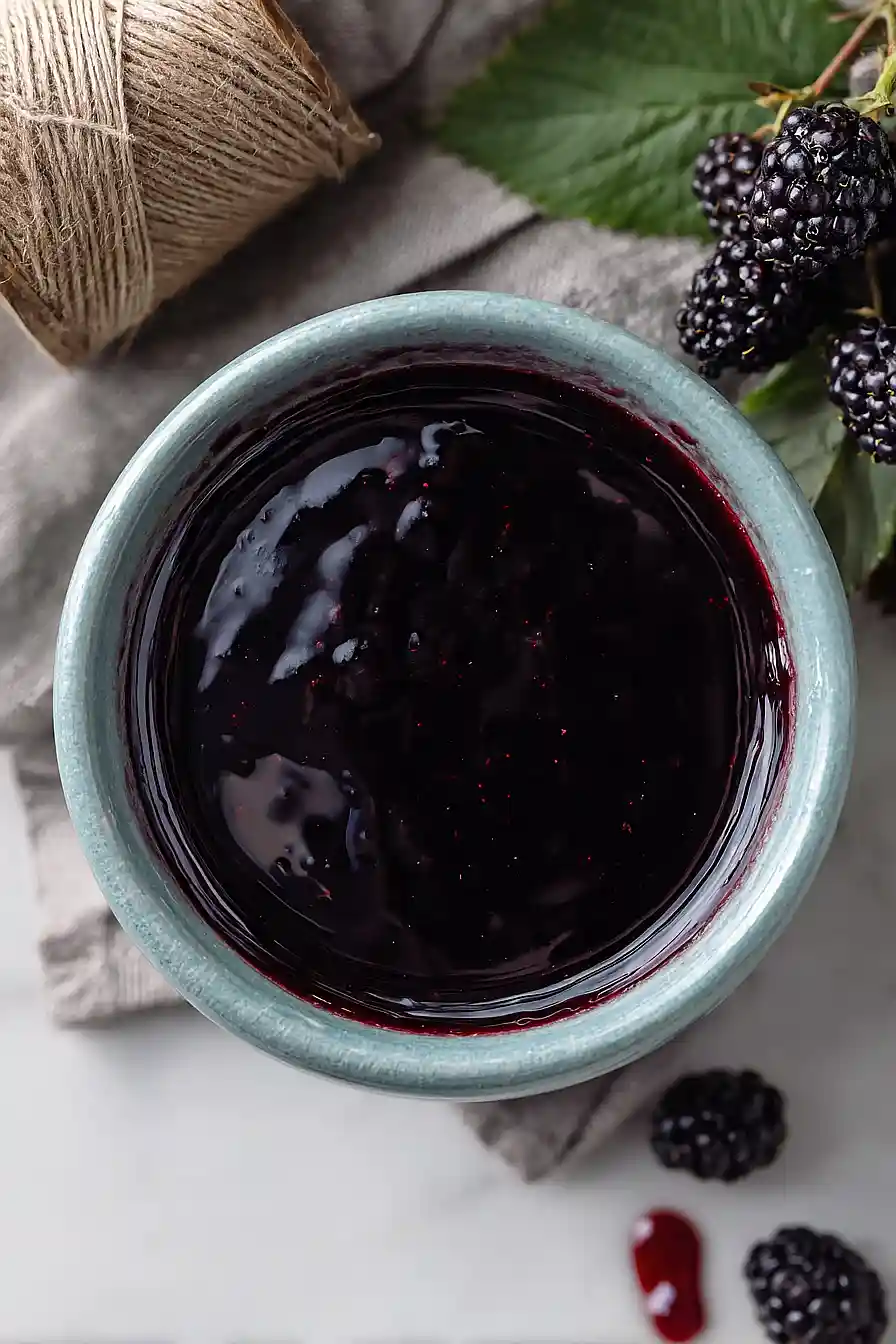
Why You’ll Love This Black Raspberry Jelly
- Pure, natural flavor – With just three simple ingredients—fresh black raspberries, sugar, and water—you get a homemade jelly that tastes like summer in a jar, without any artificial additives or preservatives.
- Perfect for beginners – This straightforward recipe is a great introduction to jelly-making, with clear steps that make the process less intimidating than you might think.
- Makes wonderful gifts – Homemade black raspberry jelly in pretty jars makes thoughtful presents for friends and family, and they’ll appreciate the effort you put into making something from scratch.
- Versatile use – Spread it on toast, swirl it into yogurt, pair it with cheese, or use it as a filling for pastries—this jelly works for breakfast, snacks, and even desserts.
What Kind of Black Raspberries Should I Use?
Fresh black raspberries are ideal for making jelly, and you’ll want to pick them when they’re fully ripe and come off the stem easily. If you can’t find black raspberries at your local store, check farmers markets during peak season (usually mid to late summer) or consider foraging if you know of any wild patches in your area. Frozen black raspberries can work in a pinch, though fresh will give you the best flavor and natural pectin content. Just make sure your berries are clean and free of any moldy or mushy ones before you start cooking, as those can affect the taste and texture of your final jelly.
Options for Substitutions
While jelly-making requires some precision, you do have a few options for swaps:
- Black raspberries: If you can’t find black raspberries, regular red raspberries work perfectly and will give you a classic raspberry jelly. Blackberries are another good option, though they’ll create a slightly different flavor profile.
- Granulated sugar: For jelly, stick with regular granulated sugar – it’s essential for proper setting and preservation. Substituting with honey, artificial sweeteners, or other sugar alternatives will affect the jelly’s ability to gel and may require different recipes specifically designed for those ingredients.
- Fresh berries: Frozen black raspberries can work if fresh aren’t available. Thaw them completely and include all the juice when cooking. You might need slightly less added water since frozen berries release more liquid.
Watch Out for These Mistakes While Cooking
The biggest mistake people make with homemade jelly is not cooking it to the proper temperature, which leaves you with a runny syrup instead of a spreadable jelly – invest in a candy thermometer and make sure it reaches exactly 220°F for the perfect set.
Squeezing or pressing the jelly bag while straining might seem like a good way to get more juice, but it actually forces pulp through and creates cloudy jelly, so let gravity do the work even if it takes a few hours.
Skipping the foam removal step can leave your finished jelly looking bubbly and less appealing, so take the extra minute to skim it off with a spoon before jarring.
Finally, don’t rush the cooling process by moving or tilting the jars – let them sit undisturbed for the full 12-24 hours so the jelly sets properly and creates a good seal.
What to Serve With Black Raspberry Jelly?
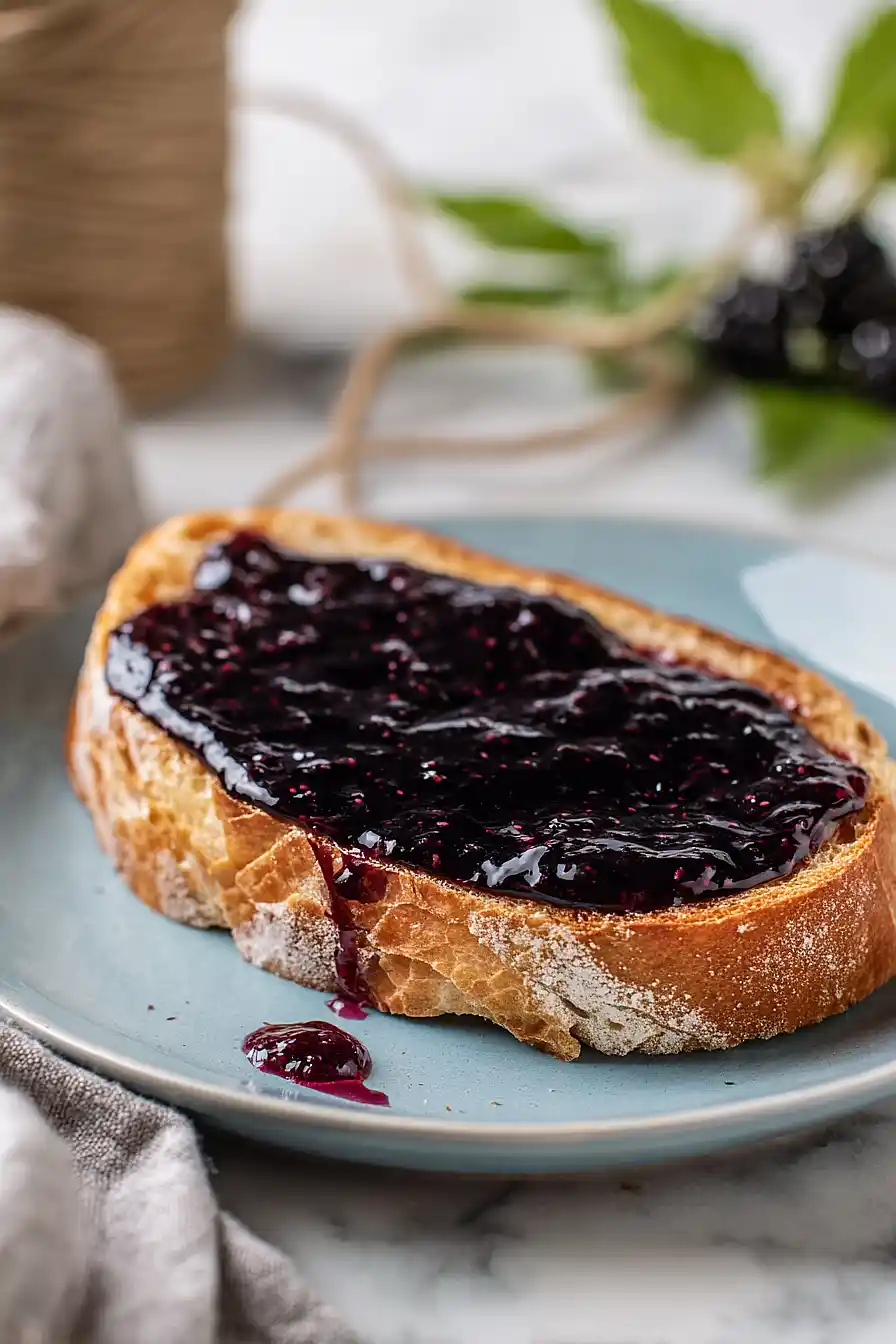
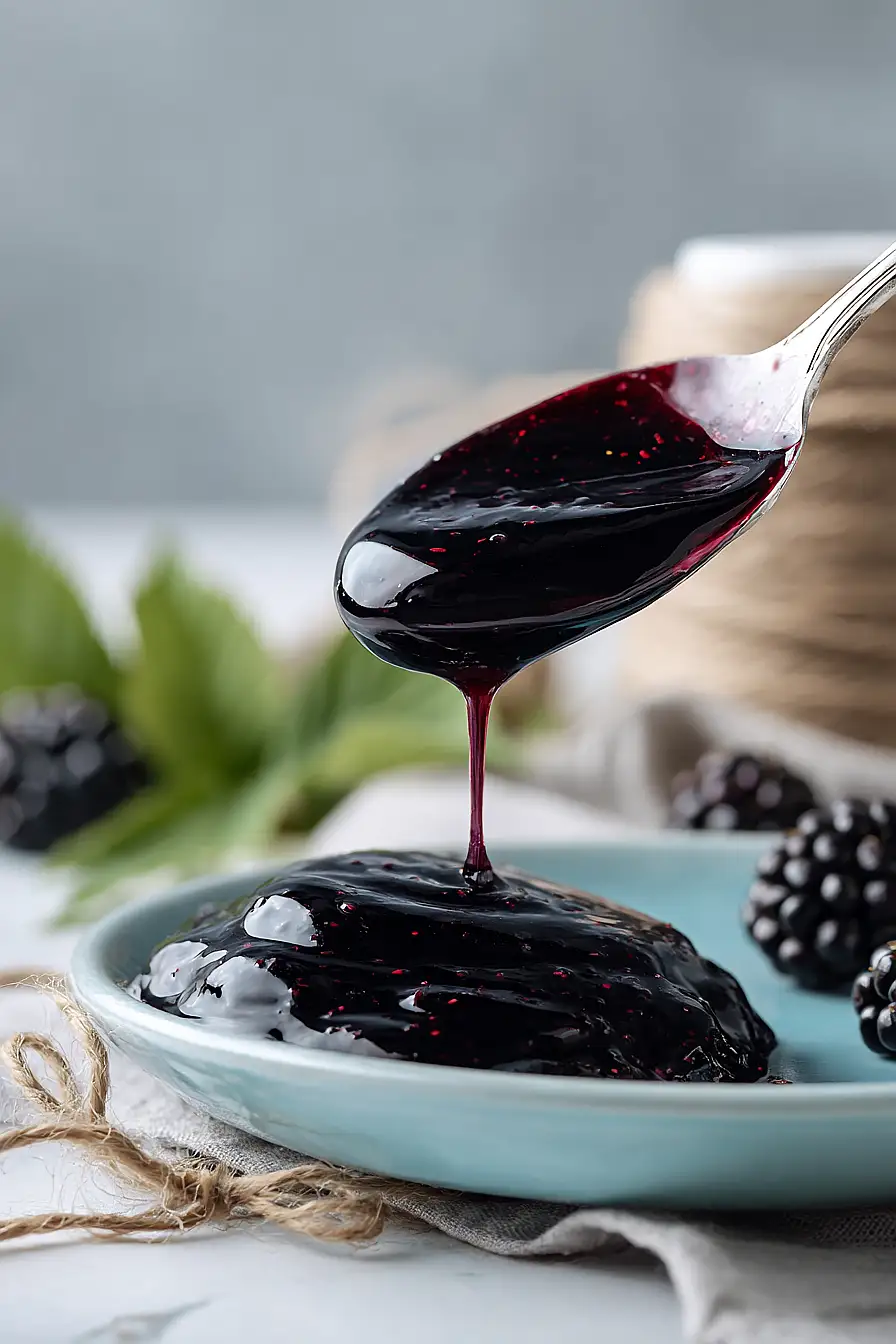
Black raspberry jelly is perfect spread on warm buttermilk biscuits or English muffins for breakfast, and it also makes a great addition to a cheese board alongside sharp cheddar or creamy brie. I love using it as a filling for thumbprint cookies or swirled into plain yogurt for a quick snack. You can also spread it on toast with peanut butter for a classic PB&J, or use it as a glaze for roasted pork or chicken to add a sweet and tangy flavor. If you’re feeling fancy, try it with cream cheese on bagels or crackers for an easy appetizer.
Storage Instructions
Store: Once your jars have cooled and sealed properly, store them in a cool, dark place like a pantry or cupboard. Unopened jars will keep for up to a year, which means you can enjoy that summer berry flavor all winter long!
After Opening: After you crack open a jar, keep it in the refrigerator and use it within 3 to 4 weeks. The jelly stays fresh and spreadable when kept cold, perfect for your morning toast or PB&J sandwiches.
Check Seals: Always make sure your jars sealed correctly before storing them. Press down on the center of each lid – if it doesn’t pop back, you’re good to go. Any jars that didn’t seal should go straight to the fridge and be used within a few weeks.
| Preparation Time | 25-35 minutes |
| Cooking Time | 20-30 minutes |
| Total Time | 45-65 minutes |
| Level of Difficulty | Medium |
| Servings | 5 cups of jelly |
Estimated Nutrition
Estimated nutrition for the whole recipe (without optional ingredients):
- Calories: 1100-1300
- Protein: 3-5 g
- Fat: 1-2 g
- Carbohydrates: 275-325 g
Ingredients
- 4 quarts fresh black raspberries
- 1 cup water
- 4 cups strained black raspberry juice
- 3 1/2 cups granulated sugar
- 2 tablespoons fresh lemon juice
- 1/2 teaspoon unsalted butter (optional to reduce foaming)
Step 1: Extract Juice from Fresh Raspberries
- 4 quarts fresh black raspberries
- 1 cup water
Combine the fresh black raspberries and water in a large heavy-bottomed pot.
Heat over medium-high heat, stirring frequently and mashing the berries against the side of the pot with a wooden spoon as they soften.
This should take about 10-15 minutes until the berries are completely broken down and the mixture is very soft.
The goal is to release as much juice as possible from the fruit.
Step 2: Strain Berries to Collect Clear Juice
- cooked raspberry mixture from Step 1
Line a fine-mesh strainer with cheesecloth or use a jelly bag and set it over a large bowl.
Carefully pour the cooked raspberry mixture through the strainer, allowing the juice to drip into the bowl—do not press or squeeze the fruit, as this will make the jelly cloudy.
Let it drain completely for at least 30 minutes.
Measure out exactly 4 cups of the strained juice; if you have less, add a small amount of water to reach 4 cups.
Step 3: Combine Juice, Sugar, and Lemon Juice
- 4 cups strained black raspberry juice from Step 2
- 3 1/2 cups granulated sugar
- 2 tablespoons fresh lemon juice
Pour the strained black raspberry juice into a clean large pot and add the granulated sugar and fresh lemon juice.
The lemon juice adds pectin to help the jelly set properly and brightens the flavor.
Stir well to combine, making sure all the sugar is moistened.
Step 4: Cook Mixture to Gel Point
- juice and sugar mixture from Step 3
- 1/2 teaspoon unsalted butter
Bring the mixture to a rolling boil over high heat, stirring occasionally to ensure the sugar is fully dissolved.
Once boiling, I like to add a small dab of butter at this stage—it significantly reduces the amount of foam that forms on top, which means less skimming later.
Continue boiling for 8-10 minutes, checking the temperature with a candy thermometer.
The jelly is ready when it reaches 220°F (or 8°F above the boiling point of water at your altitude).
You can also test by dropping a small spoonful onto a cold plate; if it wrinkles when you push it with your finger, it’s ready.
Step 5: Remove Foam and Prepare for Jarring
- cooked jelly mixture from Step 4
Remove the pot from heat immediately when the gel point is reached.
Using a skimmer or slotted spoon, gently skim off any foam that has formed on the surface and discard it.
Let the jelly rest for 1-2 minutes so any remaining air bubbles rise to the surface.
Step 6: Fill Jars and Process
- jelly from Step 5
While the jelly is still hot, carefully ladle it into clean, hot sterilized jars, leaving exactly 1/4 inch of headspace at the top.
This space is crucial for proper sealing.
Wipe the rim of each jar with a clean damp cloth to remove any spilled jelly, then place sterilized lids and screw bands on firmly but not too tight—they should be finger-tight.
Place the filled jars into a boiling water bath (water should cover jars by 1-2 inches) and process for 10 minutes.
After processing, remove the jars with a jar lifter and let them sit undisturbed in the hot water for 5 minutes before transferring to a cool, draft-free spot.
Allow the jars to cool completely for 12-24 hours without moving them—you should hear a satisfying ‘pop’ as each jar seals.
Simple Black Raspberry Jelly
Ingredients
Method
- Combine the fresh black raspberries and water in a large heavy-bottomed pot. Heat over medium-high heat, stirring frequently and mashing the berries against the side of the pot with a wooden spoon as they soften. This should take about 10-15 minutes until the berries are completely broken down and the mixture is very soft. The goal is to release as much juice as possible from the fruit.
- Line a fine-mesh strainer with cheesecloth or use a jelly bag and set it over a large bowl. Carefully pour the cooked raspberry mixture through the strainer, allowing the juice to drip into the bowl—do not press or squeeze the fruit, as this will make the jelly cloudy. Let it drain completely for at least 30 minutes. Measure out exactly 4 cups of the strained juice; if you have less, add a small amount of water to reach 4 cups.
- Pour the strained black raspberry juice into a clean large pot and add the granulated sugar and fresh lemon juice. The lemon juice adds pectin to help the jelly set properly and brightens the flavor. Stir well to combine, making sure all the sugar is moistened.
- Bring the mixture to a rolling boil over high heat, stirring occasionally to ensure the sugar is fully dissolved. Once boiling, I like to add a small dab of butter at this stage—it significantly reduces the amount of foam that forms on top, which means less skimming later. Continue boiling for 8-10 minutes, checking the temperature with a candy thermometer. The jelly is ready when it reaches 220°F (or 8°F above the boiling point of water at your altitude). You can also test by dropping a small spoonful onto a cold plate; if it wrinkles when you push it with your finger, it's ready.
- Remove the pot from heat immediately when the gel point is reached. Using a skimmer or slotted spoon, gently skim off any foam that has formed on the surface and discard it. Let the jelly rest for 1-2 minutes so any remaining air bubbles rise to the surface.
- While the jelly is still hot, carefully ladle it into clean, hot sterilized jars, leaving exactly 1/4 inch of headspace at the top. This space is crucial for proper sealing. Wipe the rim of each jar with a clean damp cloth to remove any spilled jelly, then place sterilized lids and screw bands on firmly but not too tight—they should be finger-tight. Place the filled jars into a boiling water bath (water should cover jars by 1-2 inches) and process for 10 minutes. After processing, remove the jars with a jar lifter and let them sit undisturbed in the hot water for 5 minutes before transferring to a cool, draft-free spot. Allow the jars to cool completely for 12-24 hours without moving them—you should hear a satisfying 'pop' as each jar seals.