If you ask me, brownies don’t need all that sugar to taste amazing.
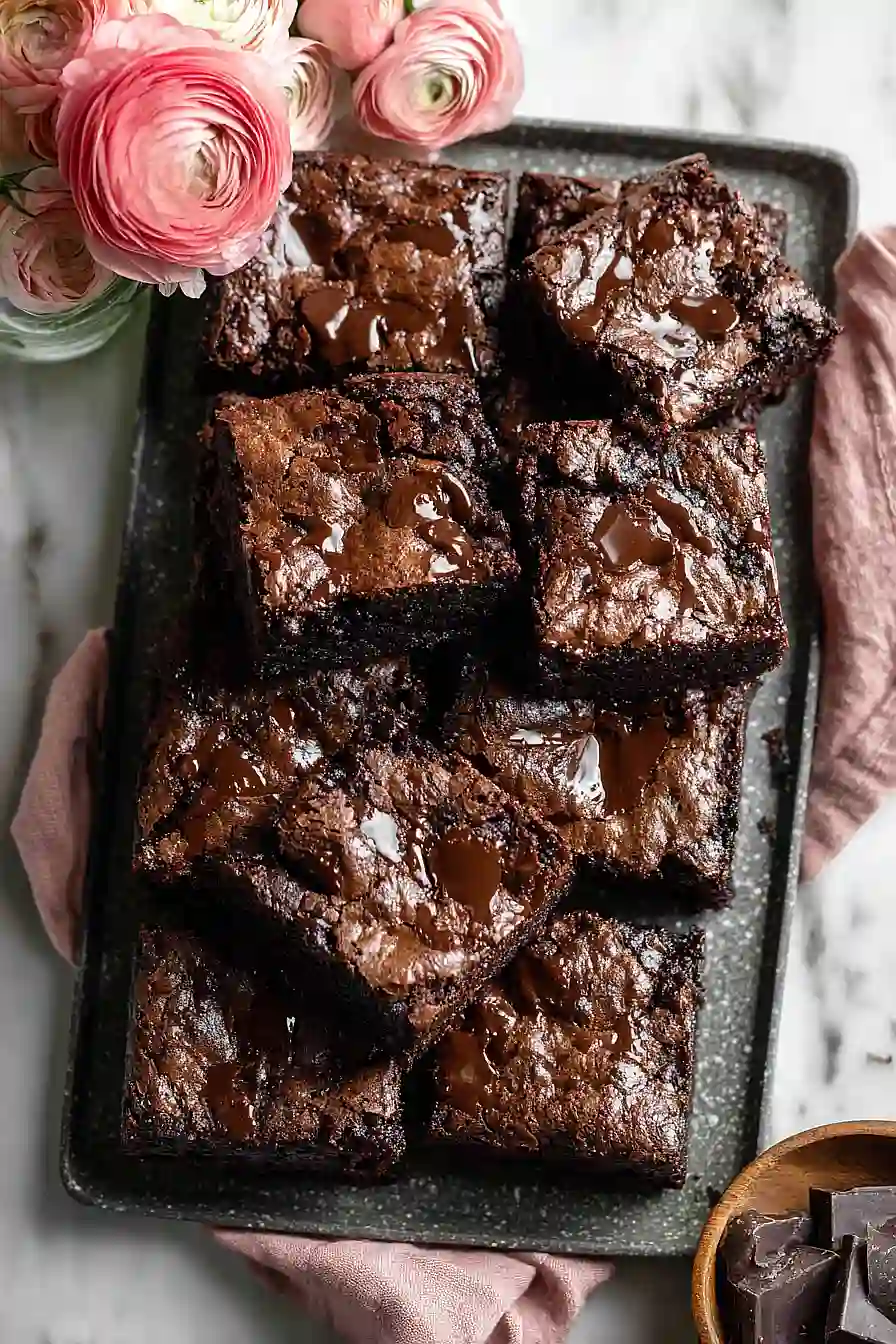
These Greek yogurt brownies are a healthier take on the classic treat that still delivers on rich chocolate flavor. The tangy yogurt adds moisture and a slight tang that balances out the cocoa.
They’re made with melted chocolate and a good amount of cocoa powder for that deep, fudgy taste we all crave. A handful of chocolate chips folded in gives you those melty pockets of chocolate throughout.
It’s a guilt-free dessert that actually satisfies your sweet tooth, perfect for when you want something indulgent without overdoing it.
Why You’ll Love These Greek Yogurt Brownies
- Healthier dessert option – Greek yogurt adds protein and moisture while keeping these brownies lighter than traditional recipes, so you can enjoy chocolate without the guilt.
- Quick and easy – Ready in under 45 minutes from start to finish, these brownies come together fast when you need a sweet treat in a hurry.
- Simple ingredients – You probably have most of these pantry staples on hand already, making this an easy go-to recipe.
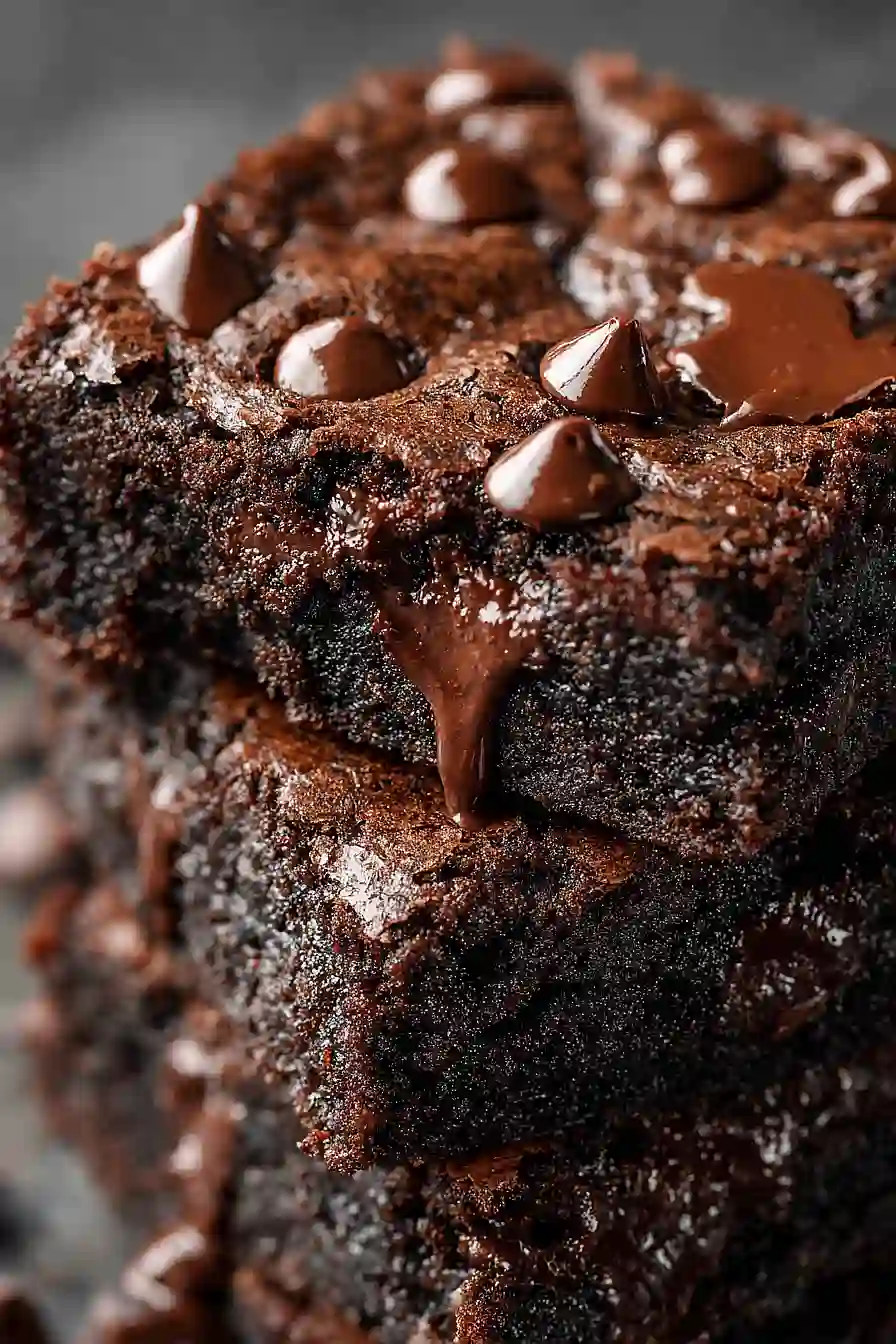
- Rich chocolate flavor – With cocoa powder, melted chocolate, and chocolate chips, these brownies deliver serious chocolate satisfaction in every bite.
What Kind of Greek Yogurt Should I Use?
For these brownies, full-fat Greek yogurt is your best bet since it adds moisture and richness without making the batter too runny. If you only have low-fat or non-fat Greek yogurt on hand, it’ll still work, but your brownies might turn out slightly less fudgy. Make sure you’re using plain Greek yogurt, not regular yogurt, as Greek yogurt is thicker and has more protein which helps give the brownies structure. If your yogurt has been sitting in the fridge and looks a bit watery on top, just give it a good stir before measuring it out to make sure you’re getting an even consistency.
Options for Substitutions
Here are some swaps you can make to customize these brownies to your needs:
- Greek yogurt: Regular plain yogurt works fine here, though your brownies might be slightly less thick. You can also use sour cream or even mashed banana (about 3/4 cup) for a different flavor twist.
- Sugar: Since the recipe name mentions ‘no sugar,’ you can replace the sugar with honey, maple syrup, or a sugar substitute like erythritol or monk fruit sweetener. If using liquid sweeteners, reduce the milk by 2 tablespoons.
- All-purpose flour: For a gluten-free version, use a 1:1 gluten-free baking flour blend. Almond flour can work too, but you’ll need about 1 cup and the texture will be denser and more fudgy.
- Milk: Any milk works here – dairy, almond, oat, or soy. Just stick with unsweetened varieties if you’re watching sugar content.
- Chocolate chips: You can use dark chocolate chunks, white chocolate chips, or even chopped nuts like walnuts or pecans if you want to skip extra chocolate.
- Cocoa powder: Don’t substitute this one – cocoa powder is what gives these brownies their chocolate base and structure.
Watch Out for These Mistakes While Baking
The biggest mistake with these brownies is overbaking them, which can turn your fudgy treat into a dry, cake-like disappointment – start checking at 25 minutes and look for a toothpick that comes out with a few moist crumbs, not completely clean.
When melting the chocolate, be careful not to overheat it or let any water get into the bowl, as this can cause the chocolate to seize up and become grainy instead of smooth.
Make sure your melted chocolate cools for the full 2 minutes before adding the yogurt, otherwise the heat can cause the yogurt to curdle and affect the texture of your brownies.
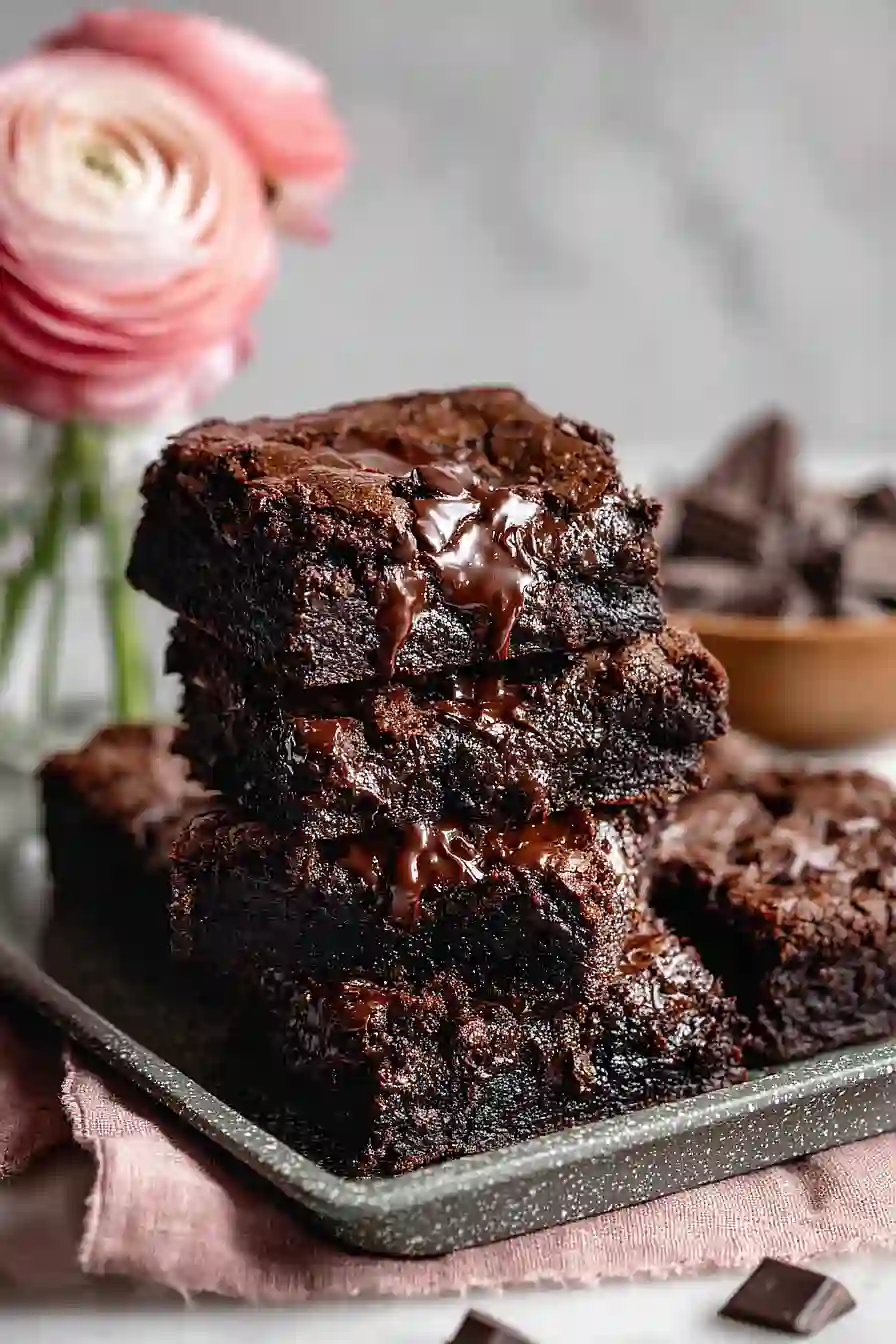
For extra fudgy brownies, try using full-fat Greek yogurt instead of low-fat, and don’t overmix once you add the flour – stir just until the dry ingredients are incorporated to keep them dense and chewy.
What to Serve With Greek Yogurt Brownies?
These brownies are pretty rich on their own, so I like keeping things simple when serving them. A scoop of vanilla ice cream on top of a warm brownie is always a winner, or you could go with some fresh whipped cream if you want something a bit lighter. Fresh berries like raspberries or strawberries are great alongside these brownies since the tartness balances out the chocolate really nicely. For a cozy dessert spread, serve them with a glass of cold milk or hot coffee, and maybe add some extra chocolate chips on top right when they come out of the oven.
Storage Instructions
Store: Keep your brownies fresh by storing them in an airtight container at room temperature for up to 3 days, or in the fridge for up to a week. I actually prefer them cold from the fridge because they get this nice fudgy texture that’s perfect with a glass of milk.
Freeze: These brownies are great for freezing! Cut them into individual squares and wrap each one in plastic wrap, then store in a freezer bag for up to 3 months. It’s nice to have a stash ready whenever a chocolate craving hits.
Enjoy: Thaw frozen brownies at room temperature for about 30 minutes, or if you’re impatient like me, pop them in the microwave for 15-20 seconds. They taste amazing slightly warm with the chocolate chips all melty again!
| Preparation Time | 10-15 minutes |
| Cooking Time | 25-30 minutes |
| Total Time | 35-45 minutes |
| Level of Difficulty | Easy |
| Servings | 16 pieces |
Estimated Nutrition
Estimated nutrition for the whole recipe (without optional ingredients):
- Calories: 1800-2000
- Protein: 28-34 g
- Fat: 70-82 g
- Carbohydrates: 260-290 g
Ingredients
- 3/4 cup chocolate (melted and cooled to room temperature)
- 1 cup + 2 tablespoons greek yogurt (I prefer FAGE Total 5% for a richer texture)
- 1/2 tsp vanilla extract
- 1/2 cup sugar
- 3/4 cup flour (I always use King Arthur all-purpose flour)
- 1/2 cup + 2 tablespoons cocoa powder (sifted to remove lumps)
- 1/4 tsp baking soda
- 1/4 tsp salt
- 1/2 cup milk
- 1 cup chocolate chips (optional but recommended for extra richness)
Step 1: Prepare Your Mise en Place and Oven
- 1/2 cup + 2 tablespoons cocoa powder
Preheat your oven to 350°F and line an 8×8 or 9×9 inch baking pan with parchment paper, allowing the paper to overhang the sides slightly for easy removal later.
Sift the cocoa powder into a small bowl to remove any lumps, which ensures a smooth, lump-free batter.
Measure out all remaining ingredients and have them ready before you begin—this organized setup is critical when working with chocolate, as it sets quickly.
Step 2: Melt Chocolate and Cool Slightly
- 3/4 cup chocolate
Melt the chocolate in a microwave-safe bowl in 30-second intervals, stirring between each interval, until completely smooth.
This gentle approach prevents overheating and ensures a silky texture.
Once melted, let the chocolate cool to room temperature for about 2 minutes—this step is crucial because adding cold or warm ingredients to hot chocolate can cause it to seize or create texture problems.
Step 3: Build the Wet Base with Greek Yogurt
- 1 cup + 2 tablespoons greek yogurt
- 1/2 tsp vanilla extract
- 1/2 cup sugar
Once the melted chocolate has cooled slightly, stir in the greek yogurt, vanilla extract, and sugar using a spatula or whisk until fully incorporated and smooth.
I find that FAGE Total 5% yogurt works best here because its higher fat content creates a richer, more indulgent crumb—don’t skip this detail if you can find it.
The yogurt adds moisture and a subtle tang that balances the chocolate beautifully while keeping these brownies tender.
Step 4: Combine Dry Ingredients into Wet Mixture
- chocolate-yogurt mixture from Step 3
- 3/4 cup flour
- sifted cocoa powder from Step 1
- 1/4 tsp baking soda
- 1/4 tsp salt
Add the flour, sifted cocoa powder from Step 1, baking soda, and salt to the chocolate-yogurt mixture.
Stir gently and thoroughly until just combined—the batter should be smooth with no streaks of flour visible.
Don’t overmix, as this can develop gluten and result in tough, dense brownies rather than the fudgy texture we’re aiming for.
Step 5: Add Moisture and Optional Mix-Ins
- batter from Step 4
- 1/2 cup milk
- 1 cup chocolate chips
Stir the milk into the batter until fully incorporated, then fold in the chocolate chips if using.
The milk creates a fudgier texture by adding moisture without excess fat, and I always include the chocolate chips because they add pockets of richness that make every bite feel indulgent.
The batter should now be thick and pourable.
Step 6: Bake Until Just Set
- batter from Step 5
Pour the batter into your prepared pan and smooth the top gently.
Bake for 25–30 minutes, until a toothpick inserted into the center comes out with just a few moist crumbs (not fully clean).
These brownies will continue to set slightly as they cool, so avoid overbaking—they should still feel slightly underdone when removed from the oven.
Step 7: Cool and Serve
Allow the brownies to cool in the pan for 10 minutes to set slightly, then transfer the entire parchment paper with the brownies to a wire cooling rack.
Let cool completely before cutting into squares.
Cooling completely ensures clean cuts and allows the texture to fully develop.
Chewy No Sugar Greek Yogurt Brownies
Ingredients
Method
- Preheat your oven to 350°F and line an 8x8 or 9x9 inch baking pan with parchment paper, allowing the paper to overhang the sides slightly for easy removal later. Sift the cocoa powder into a small bowl to remove any lumps, which ensures a smooth, lump-free batter. Measure out all remaining ingredients and have them ready before you begin—this organized setup is critical when working with chocolate, as it sets quickly.
- Melt the chocolate in a microwave-safe bowl in 30-second intervals, stirring between each interval, until completely smooth. This gentle approach prevents overheating and ensures a silky texture. Once melted, let the chocolate cool to room temperature for about 2 minutes—this step is crucial because adding cold or warm ingredients to hot chocolate can cause it to seize or create texture problems.
- Once the melted chocolate has cooled slightly, stir in the greek yogurt, vanilla extract, and sugar using a spatula or whisk until fully incorporated and smooth. I find that FAGE Total 5% yogurt works best here because its higher fat content creates a richer, more indulgent crumb—don't skip this detail if you can find it. The yogurt adds moisture and a subtle tang that balances the chocolate beautifully while keeping these brownies tender.
- Add the flour, sifted cocoa powder from Step 1, baking soda, and salt to the chocolate-yogurt mixture. Stir gently and thoroughly until just combined—the batter should be smooth with no streaks of flour visible. Don't overmix, as this can develop gluten and result in tough, dense brownies rather than the fudgy texture we're aiming for.
- Stir the milk into the batter until fully incorporated, then fold in the chocolate chips if using. The milk creates a fudgier texture by adding moisture without excess fat, and I always include the chocolate chips because they add pockets of richness that make every bite feel indulgent. The batter should now be thick and pourable.
- Pour the batter into your prepared pan and smooth the top gently. Bake for 25–30 minutes, until a toothpick inserted into the center comes out with just a few moist crumbs (not fully clean). These brownies will continue to set slightly as they cool, so avoid overbaking—they should still feel slightly underdone when removed from the oven.
- Allow the brownies to cool in the pan for 10 minutes to set slightly, then transfer the entire parchment paper with the brownies to a wire cooling rack. Let cool completely before cutting into squares. Cooling completely ensures clean cuts and allows the texture to fully develop.